


Growing cannabis outside isn’t just gardening; it’s an adventure. This guide walks you through creating the perfect outdoor setup, understanding your climate, and keeping pests at bay, all to help your plants flourish. Get ready for practical tips that turn your backyard into a bounty of green.
- Importance of setting up the best outdoor grow setup
- Pros and cons of outdoor vs indoor
- Temperature and humidity
- Light requirements
- Rainfall and irrigation
- Wind and shelter
- Soil and topography requirements
- Proximity to water sources
- Security and privacy considerations
- Legal considerations
- How to prepare the soil for cannabis plants
- Recommended soil types
- Fertiliser and nutrient requirements
- Growing weed outdoors in pots
- Growing weed outdoors in the ground
- Watering and irrigation
- Pest and disease management
- Pruning and training
- Harvesting and curing
- When should I harvest outdoor cannabis?
- Techniques for harvesting outdoor plants
- Drying and curing
- Storing and preserving cannabis
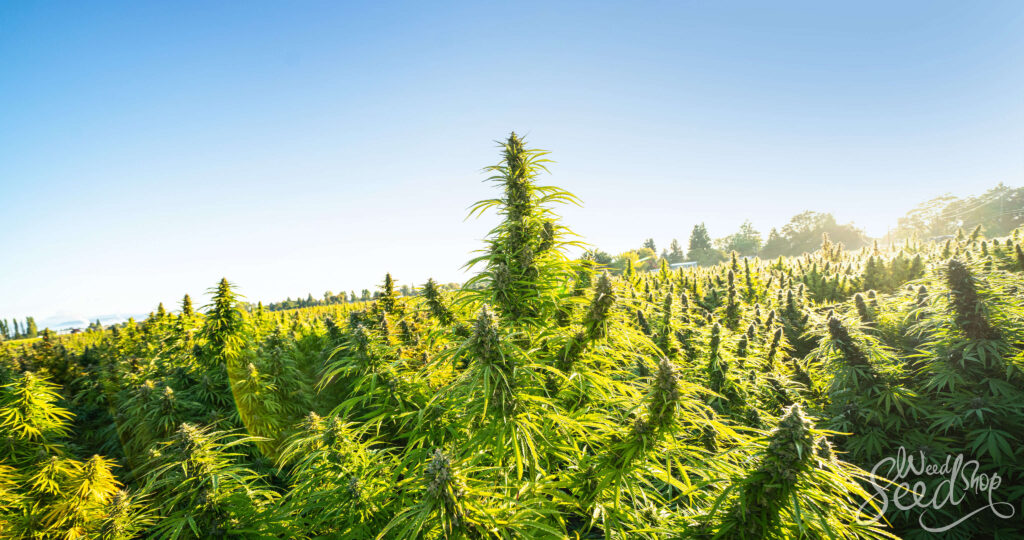
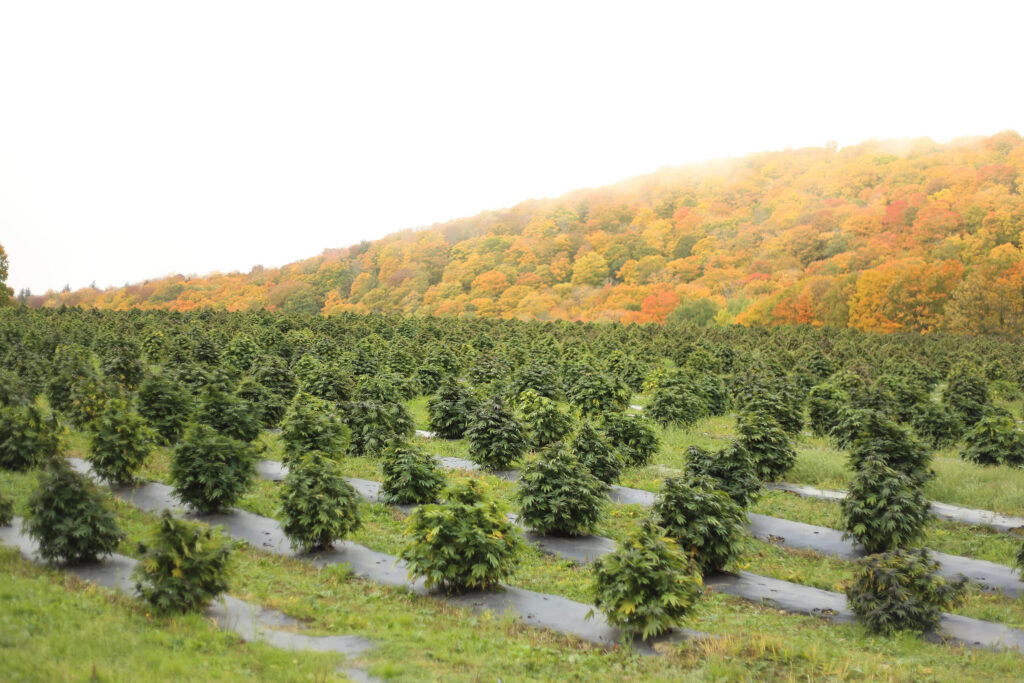
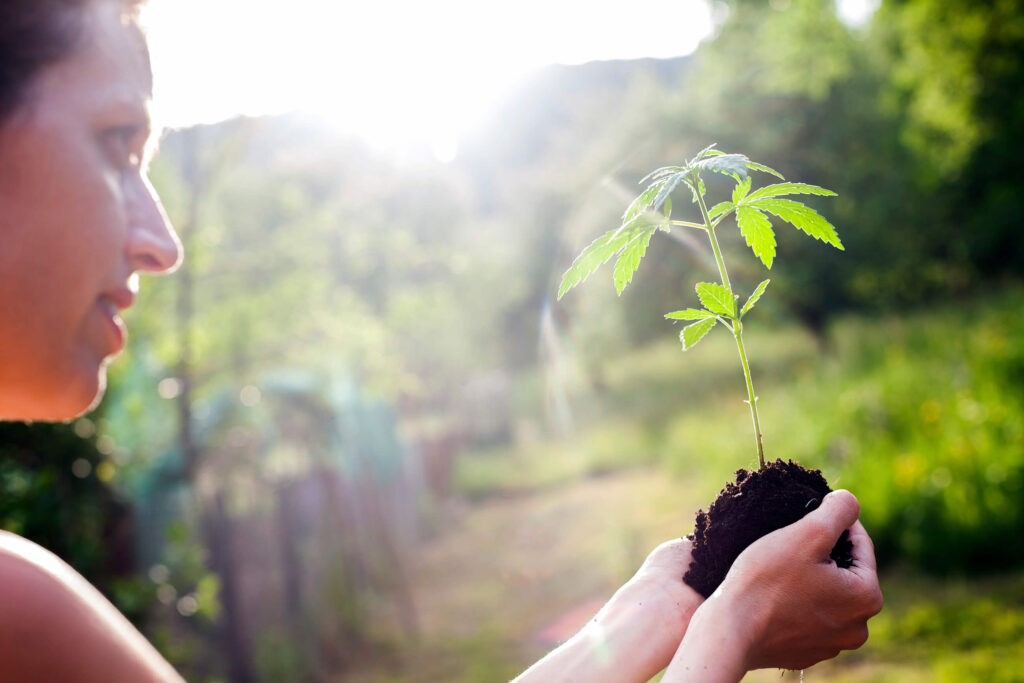
The shift toward legal cannabis cultivation globally has ushered growers from the shadows into the sunlight, many choosing the outdoors for its natural benefits. This transition offers not only larger yields and lower costs but also a step towards a more sustainable practice.
Yet, maximising these advantages requires more than just moving plants outside; it helps to have a tailored grow setup that aligns with your environment.
Importance of setting up the best outdoor grow setup
It sounds obvious, but taking the time to prepare your setup will make a significant difference in the overall success of your harvest. A well-planned and executed grow area helps to ensure optimal growth and high-quality yields. By creating the ideal environment for your plants to thrive, you’ll promote robust growth, healthy plants, and, ultimately, a more enjoyable growing experience.
Pros and cons of outdoor vs indoor
Growing outdoors offers several benefits, but it’s not for everyone. If you’re in an apartment or don’t have a suitable climate, outdoor growing simply isn’t an option. Additionally, indoor cultivation allows for greater control over environmental factors, such as temperature and humidity, which can result in more consistent yields. However, indoor cultivation can be expensive due to the need for artificial lighting and ventilation systems.
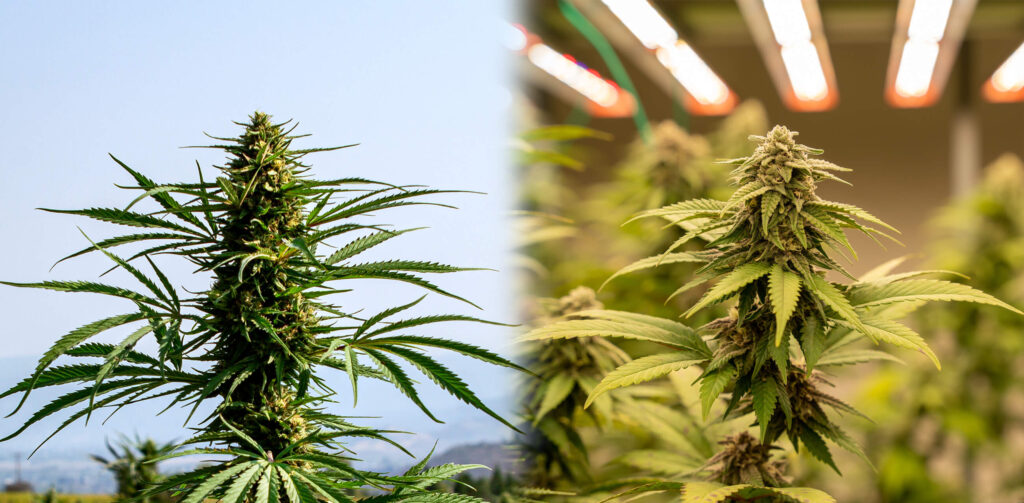
Outdoor cultivation, on the other hand, provides far more space for larger plants, lower upfront equipment costs, and a more eco-friendly option. However, Mother Nature is a fickle mistress, and controlling environmental factors and protecting against pests and diseases is no small task. In the end, the decision between growing indoors and outdoors depends on personal preference and available resources.
Related post
Climate considerations
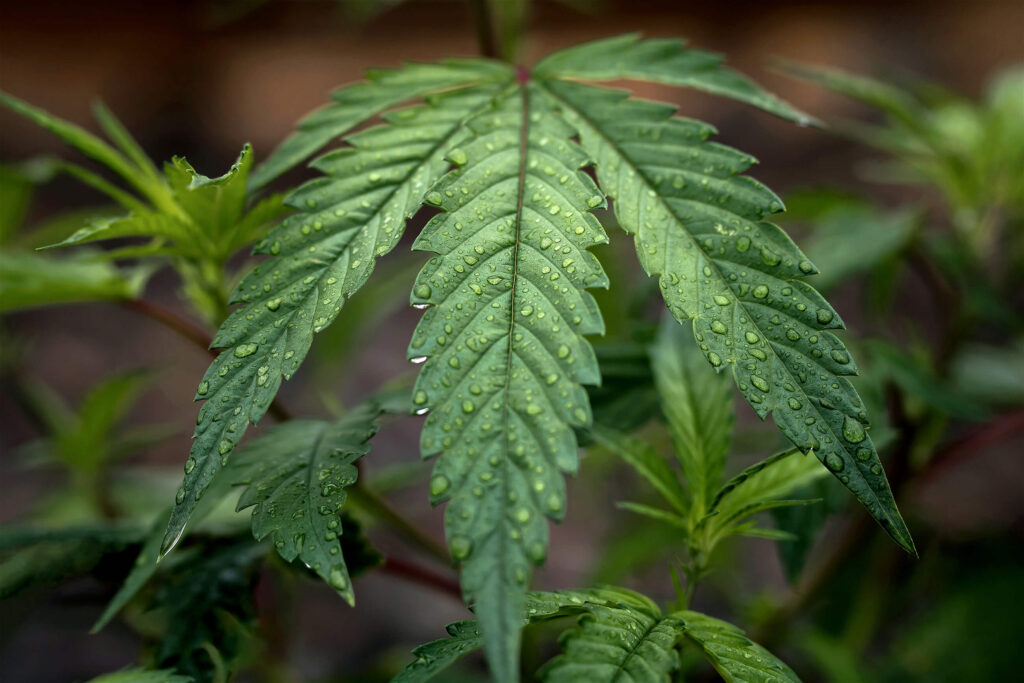
When it comes to outdoor growing, the climate is perhaps the most critical factor to consider. Cannabis plants are hearty, but they still need certain conditions. Temperature, humidity, light, irrigation, and shelter are all key aspects to consider when choosing an outdoor grow site.
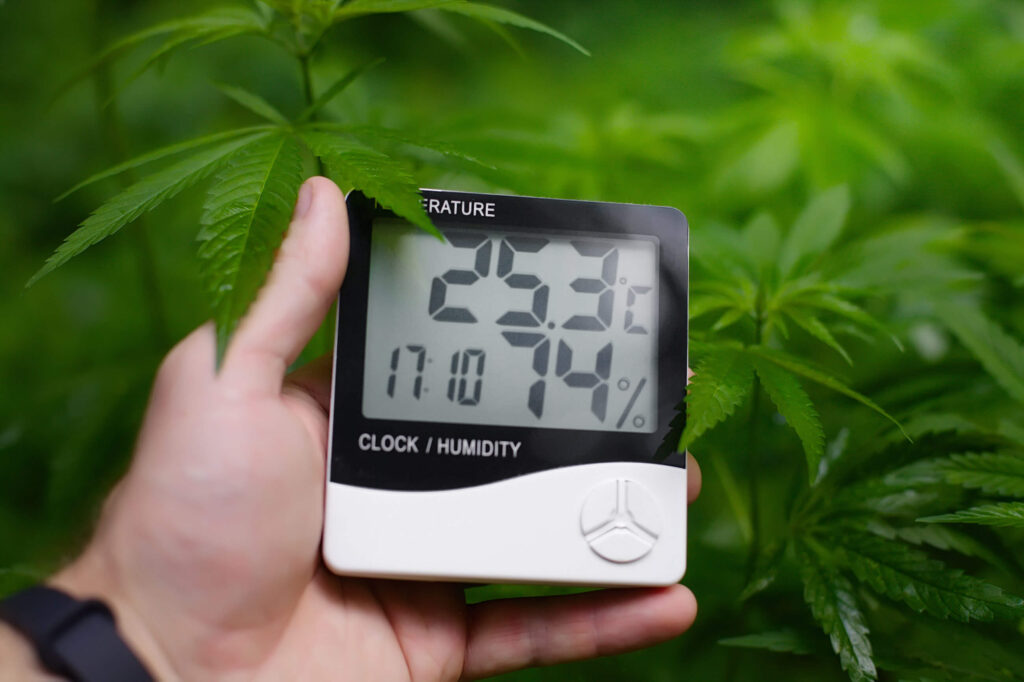
Temperature and humidity
Weed plants are incredibly sensitive to temperature and humidity changes, and will only thrive in a specific range of conditions. Growers need to keep a close eye on temperature and humidity to avoid stress, mould, and other issues that could affect plant growth and yield.
The optimal temperature range for cannabis plants is between 21-29°C during the day and 15-21°C at night. While plants can survive and grow at temperatures outside of this, longer periods can affect plant growth and development, leading to poor yields, stunted growth, and lower-quality buds.
If your local climate doesn’t allow for this, there are several options including heating, ventilation, and heating or cooling systems, depending on the climate and time of year. If you have the space and means, building a greenhouse is always the best way to control these factors.
Humidity also plays a key role in cannabis cultivation. High humidity levels can lead to mould, while low humidity can cause the plant to dry out and wilt. It’s important to keep your humidity levels between 40-60%, although this may vary depending on the stage of growth. Plants during the vegetation stage can tolerate higher levels of humidity. To regulate humidity levels, growers can use dehumidifiers, humidifiers, or natural ventilation.
It’s crucial to monitor temperature and humidity levels regularly, especially in extreme weather conditions. Using a thermometer and a hygrometer can help you track changes and adjust your setup as needed. By keeping temperature and humidity levels within the optimal range, you can create a healthy, thriving environment for your cannabis plants to grow and produce high-quality buds.
Light requirements
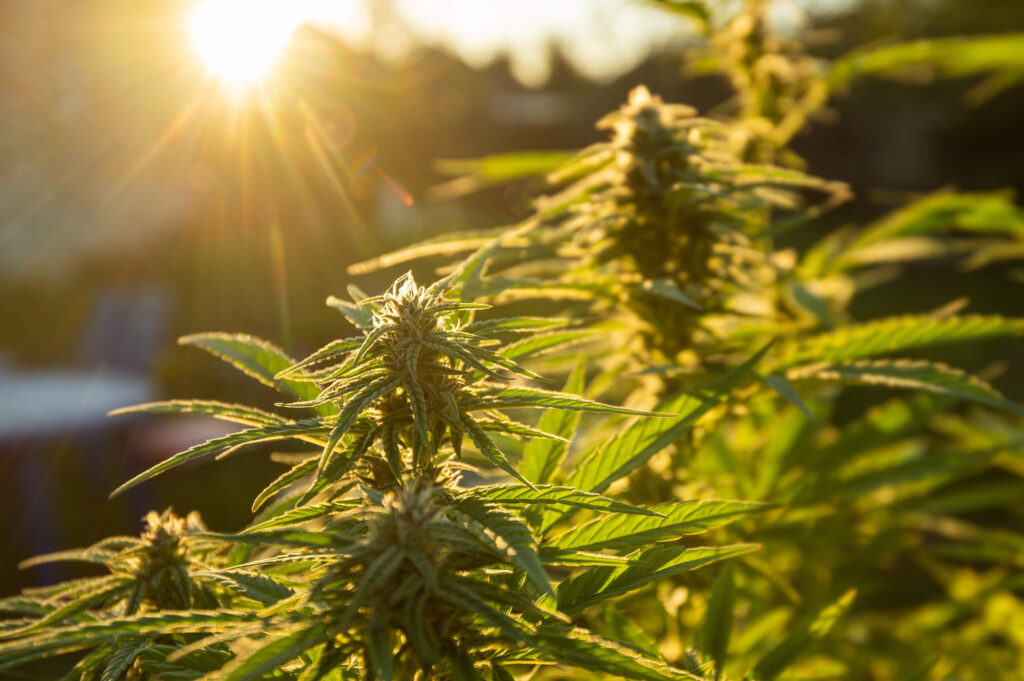
Light is the single most key aspects in growing weed. Put simply, the more light you give the plant, the bigger buds you’ll get in the end. As important as light is, it’s one of the easiest things to optimise.
For photoperiod cannabis plants, the amount of light they get dictates when they start flowering. During the vegetative stage, plants need at least 18 hours of light per day, while during the flowering stage, they need 12 hours of light and 12 hours of darkness. However, the actual sunlight hours can vary depending on the location, season, and weather conditions.
If you’re using autoflowering seeds, then the timing doesn’t matter at all and the plants will flower on their own regardless of conditions.
To monitor light levels, growers can use a light meter or a lux meter. A light meter measures the intensity of light in units of micromoles per square meter per second (µmol/m²/s), while a lux meter measures the amount of visible light in units of lux.
For most outdoor growers, this isn’t absolutely necessary, just make sure that your plants are in an area where they receive direct sunlight throughout the day.
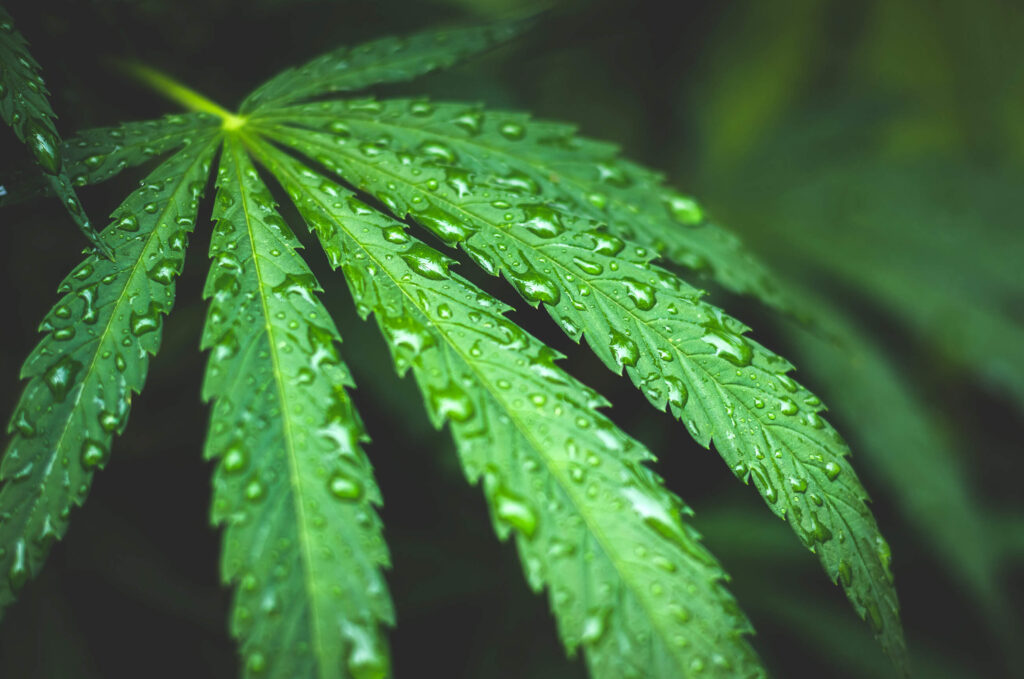
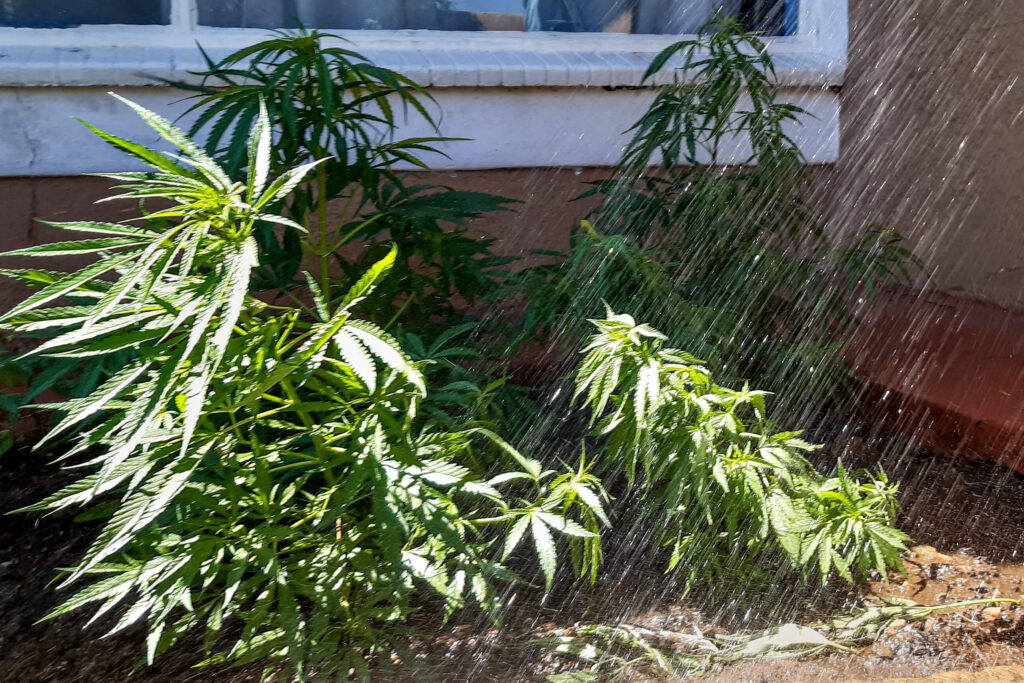
Rainfall and irrigation
Outdoor cannabis cultivation requires careful attention to rainfall and irrigation needs to ensure that the plants receive the right amount of water. Both overwatering and underwatering are surefire ways to get your plants killed. How much water plants need depends on the stage of growth, climate, soil type, and other environmental factors.
During the vegetative stage, plants typically require far less water than during the flowering stage. As the plant grows, it will start needing more and more water to keep producing heavy buds. On average, cannabis plants require about 4.5l per day for each 500g of processed flower expected following harvesting. You might need to do some math base on what seeds you have.
It’s crucial to avoid overwatering your outdoor plants, as this can lead to mould, root rot, and other issues. One effective method to prevent overwatering is to wait for the soil to dry out completely before watering again. The rate at which the soil dries out will depend on your specific environmental conditions, but generally, misting the plants with a light mister once every 2-3 days during the early stages is recommended.
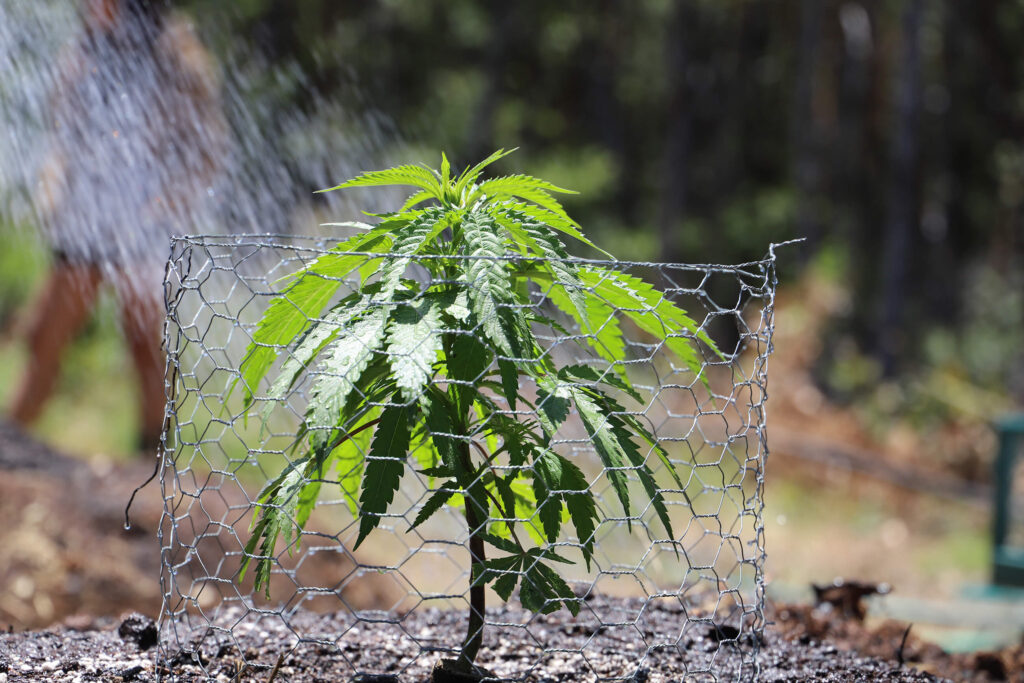
Wind and shelter
Wind is another environmental factor that can make or break an outdoor grow setup. While a gentle breeze strengthens plant stems and improves overall plant health, strong winds can cause significant damage, especially to young plants.
The ideal wind speed for marijuana plants is roughly 10 to 20 km/h, as winds that exceed this range can cause physical damage to the plants. Luckily, providing simple shelters, such as windbreaks or trellises, can help protect plants from strong winds and prevent breakage or damage to branches.
When choosing a shelter for your cannabis plants, it’s essential to consider your specific climate and soil type. For example, in areas with high rainfall, using a shelter that allows for proper drainage is crucial to prevent waterlogging and root rot. Additionally, choosing a shelter that provides adequate ventilation can help prevent the buildup of excess moisture, which can lead to mould and mildew growth.
Related post

Selecting a location for an outdoor grow setup
Just because you’ve got access to a yard doesn’t mean that you’ve actually got a space to grow. But, with a little preparation, most outdoor spaces can be modified to handle your garden.
Soil and topography requirements
The soil that you grow your plants in is crucial for developing healthy roots. The ideal soil for cultivation should have a balanced pH level (between 6.0 – 7.0 is ideal for soil), be rich in organic matter, and well-draining. A soil test can help determine the nutrient and pH levels of the soil, and whether it needs anything extra to ensure the ideal growing conditions for the plants.
Since it’s unlikely that the soil in any given yard is ideal for weed, many outdoor growers use special fertilised soil. This can either be done in pots or by digging a hole in the ground and filling it with new soil.
The topography of the location should also be considered, as it can impact drainage and irrigation. The land should be level or slightly sloping to ensure proper water drainage and avoid waterlogging. Steep slopes and hills can lead to erosion and nutrient runoff, while flat land can lead to water pooling and saturation.
Proximity to water sources
While rain should provide at least some water to your plants, you’ll still need to water them yourself regularly. Carrying tens of litres of water is exhausting and time-consuming so make sure that your garden is close to some water source. Don’t use pond water or river water as this will greatly increase the odds of some form of infestation in your plants.
Security and privacy considerations
As much as I hate to say it, outdoor weed cultivation can put a target on your house and can make it more vulnerable to theft or vandalism. Security is a crucial consideration for growers. Here are some security concerns to keep in mind when setting up your outdoor grow:
- Control access: Access to the growing area should be restricted to authorised personnel only. Installing physical barriers such as fences, gates, or walls can deter intruders from accessing your plants.
- Surveillance: Installing surveillance cameras around the growing area can help deter theft and provide valuable evidence in case of an incident.
- Lighting: Proper lighting can deter potential intruders and help you monitor the growing area during the night. Motion-activated lights can be particularly effective.
- Alarms: Installing alarms that trigger when someone enters the growing area can alert you and deter intruders.
- Concealment: Camouflaging the growing area with natural or artificial foliage can help deter potential intruders from noticing the plants.
Legal considerations
Obviously, check your local laws before growing anything indoors or outdoors.
If growing is legal where you live, there’s likely a restriction on the number of plants an individual can grow. This is where outdoor growing is really helpful. If you’re only allowed to grow three plants, why not make them all three meters tall?
Related post
Choosing the right strain
Not every strain is created equal. When choosing which kind of plant to grow, make sure that it matches the climate that you’re growing in. Some of the major things to look at when researching seeds include:
- Climate and environmental conditions: Choose a strain that can thrive in the specific climate and conditions where you live. Factors like temperature, humidity, rainfall, and wind are crucial in determining the right strain for any location.
With so many strains out there, it’s relatively easy to find one that’s ideal for your climate. While a strain like Critical Mass will grow just about anywhere, sativas like Trainwreck require a great deal of sunlight to reach their full potential.
- Yield and harvest time: Some strains take longer to mature, while others have a higher yield. Diesel Haze, for example, takes a fairly long time to mature, while something like Bubblegum XXL is known for its high yield.
- Height and size: With no ceiling to worry about, height is a major advantage when growing outdoors. Some sativas, like Mexican Haze, can grow to towering heights, while Purple Bud remains relatively small. Consider the size of the plant and the space available to avoid overcrowding and maximise yield.
On all our product pages, you’ll find information about plant size, flowering time, and ideal growing season to help you with your purchase.
Related post

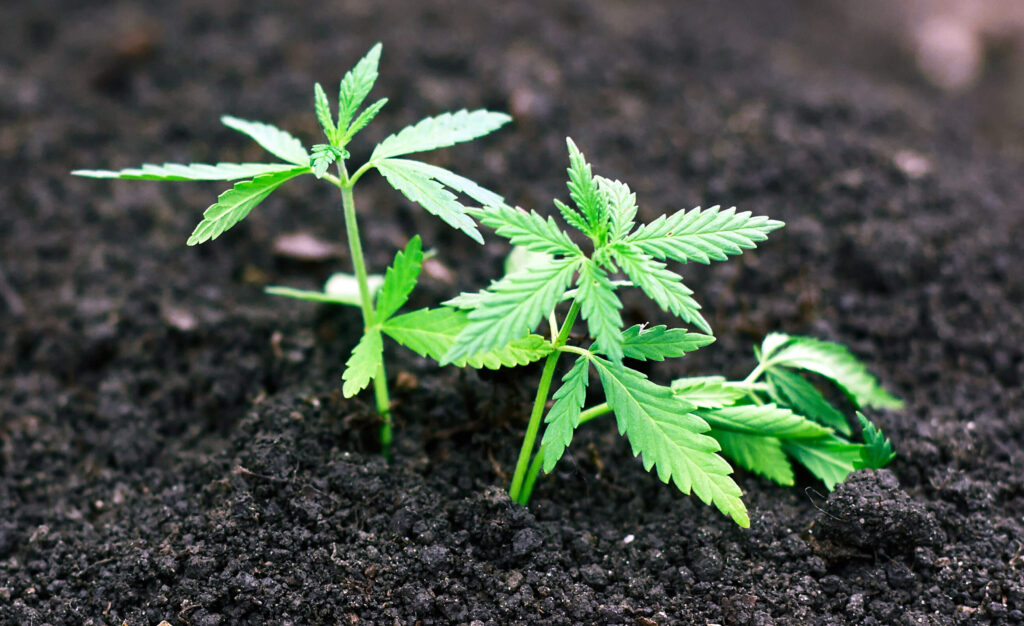
Soil preparation and planting
As mentioned earlier, it’s not generally considered a best practice to just throw your seeds in the ground to see what pops up. You’ll need to get the soil ready to give your plants the best environment.
How to prepare the soil for cannabis plants
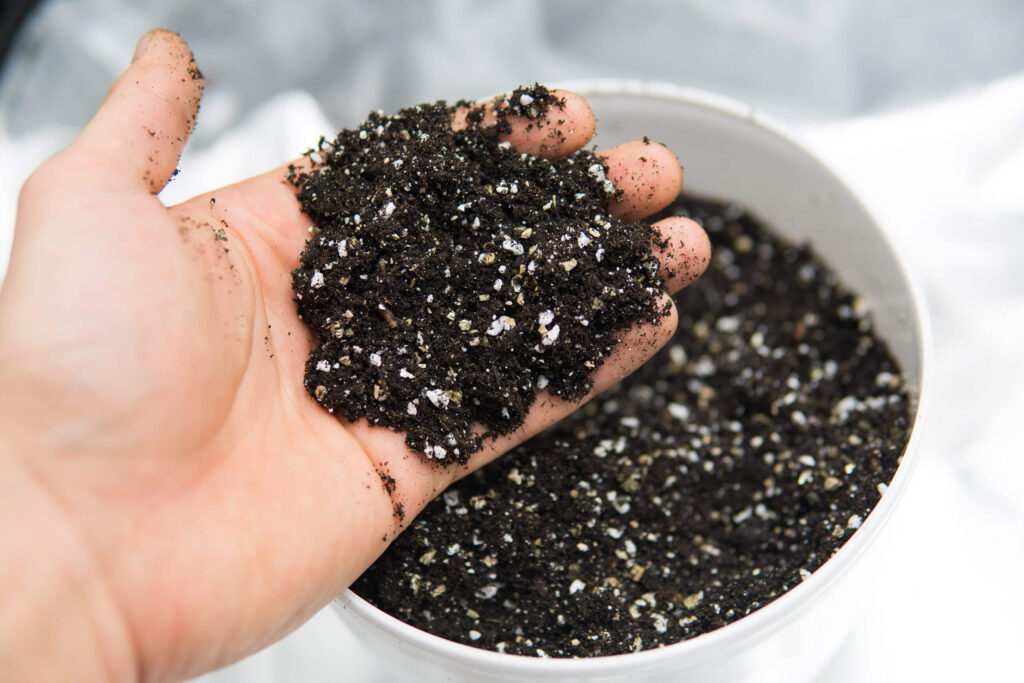
Before planting, you should to test your soil to determine its pH levels and nutrient deficiencies. Testing the soil will help you identify the best approach to prepare the soil and which nutrients are required for optimal growth. This can be an extra step and is why many growers opt for pre-mixed bags of soil.
Adding organic matter such as compost, manure, and worm castings to improve soil structure and fertility is another crucial step as these organic materials provide nutrients that promote healthy root development, microbial activity, and moisture retention in the soil.
It’s also important to aerate the soil before planting. This helps to improve drainage and oxygenation by breaking up compacted soil, which can hinder root growth and nutrient uptake. Till or turn the soil to a depth of 30 – 50 cm to loosen compacted soil and improve soil structure. This will allow roots to grow deeper, which will help the plants better withstand drought, wind, or heavy rain.
Recommended soil types
Broadly speaking. There are three main soil types to consider: loam soil, sandy soil, and clay soil.
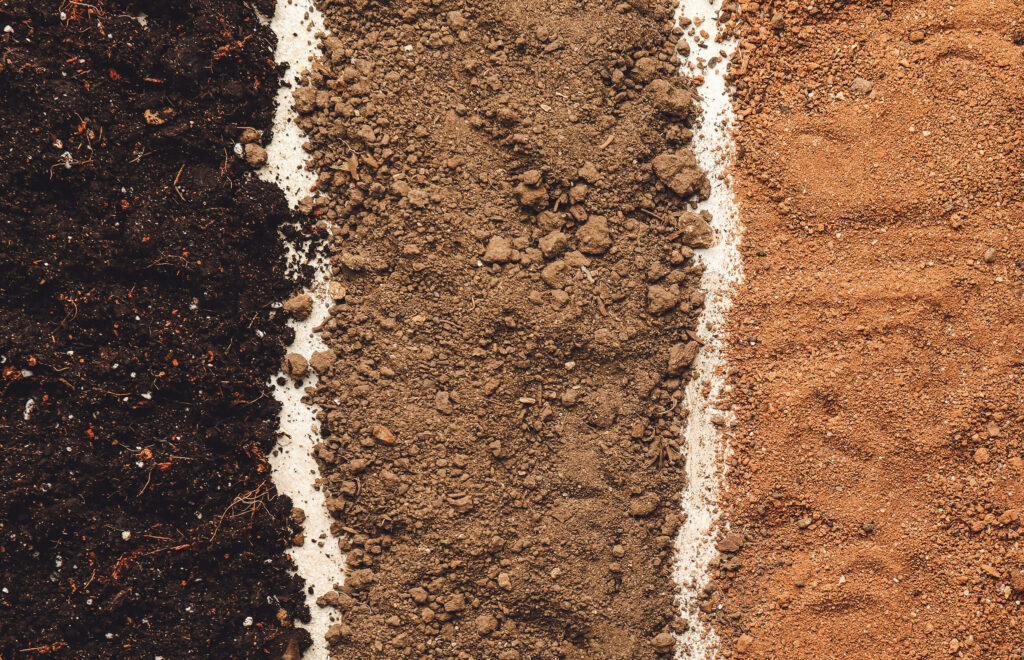
Loam soil is considered to be the best candidate for growing cannabis as it has a perfect balance of sand, silt, and clay particles. This combination provides excellent drainage, aeration, and nutrient retention. Loam is easy to work with and is ideal for novice growers due to the good structure that also makes it easy for roots to penetrate the soil and access nutrients.
Sandy soil is another option for outdoor growers. Sandy soil is easy to work with and provides good drainage. However, it tends to dry out quickly and does not hold onto nutrients as well as loam. Therefore, growers using sandy soil may need to water and fertilise their plants more frequently.
Clay soil is the third option but is typically considered more challenging for outdoor cannabis cultivation. This soil type has a high percentage of clay particles, making it dense and less aerated. Clay soil has poor drainage and can retain too much water, which can lead to root rot. To improve the drainage and soil structure of clay soil, growers can add organic matter such as compost, manure, or worm castings.
In addition to the above soil types, you may also consider other options like peat moss, vermiculite, and perlite. These soil amendments are usually used to improve the soil structure, water retention, and aeration. However, you must use them in the right proportion to avoid overdoing them and harming the plants.
Generally, start with some basic pre-mixed soil until you get in the habit of watering and monitoring pH before trying to experiment with solid mixtures.
Related post

Fertiliser and nutrient requirements
Giving your plants the proper nutrients is vital to their healthy growth. Outdoor growers have several great options available to get the most out of their plants.
Cannabis plants require a well-balanced mixture of nutrients and it’s essential to provide them with the right amount of nutrients at the right time. The macronutrients such as nitrogen, phosphorus, and potassium (NPK ratio) are required in higher amounts, while micronutrients such as calcium, magnesium, and iron are required in lower amounts.
Organic fertilisers such as compost, bone meal, and blood meal make great choices for outdoor weed plants. These fertilisers are rich in essential nutrients and are often slow-release, ensuring a consistent supply of nutrients to the plants, while also improving soil health by adding organic matter to the soil, promoting microbial activity, and improving water retention.
Growers will want to avoid over-fertilising the plants, since this can lead to nutrient burn and other plant problems. Over-fertilising can cause a buildup of salts in the soil, which can damage the roots and reduce nutrient uptake. This is a larger problem in soil than in hydroponics setups as those can be easily drained and rebalanced. To prevent over-fertilising, start with a lower concentration of nutrients and gradually increase as needed.
In addition to organic fertilisers, some growers also make use of synthetic fertilisers. However, be cautious when using these as they can be harsh on the plants and may lead to nutrient imbalances. It’s best to use synthetic fertilisers sparingly and only when necessary.
To ensure optimal nutrient uptake, you need to monitor the pH level of the soil. Cannabis plants prefer a slightly acidic soil pH between 6.0 and 7.0, and if the soil pH is too high or too low, it can lead to nutrient deficiencies or toxicities. Regular soil testing can help ensure that the pH level is within the optimal range and that the plants are receiving the right amount of nutrients.
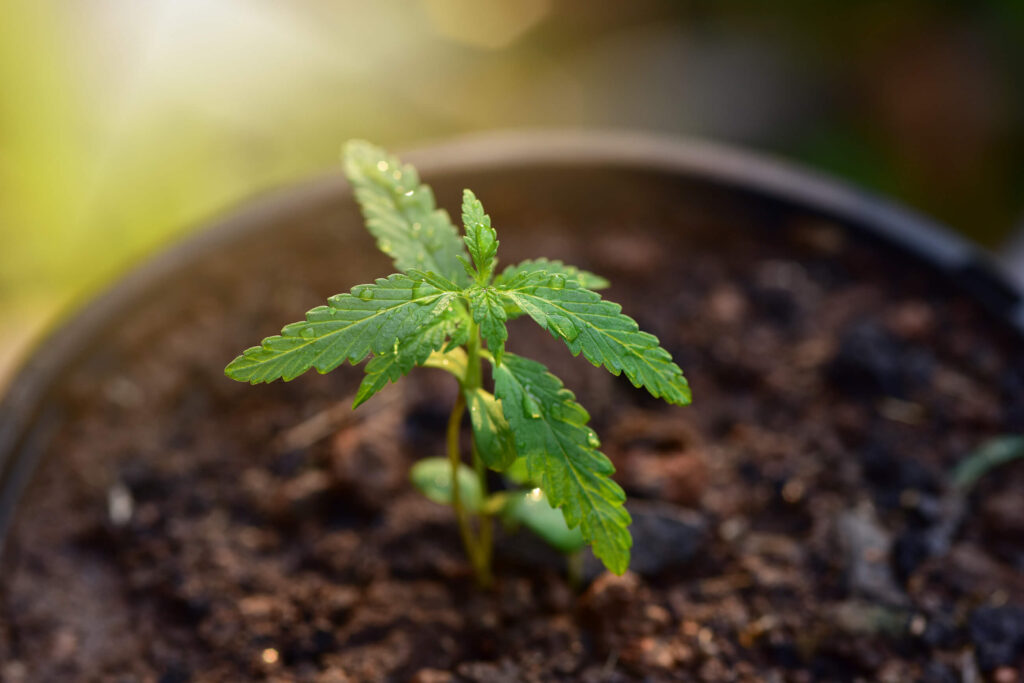
Growing weed outdoors: Open soil or pots?
Now that you’re all ready, it’s time to finally start growing cannabis outdoors. Whether you’re growing from a seed or a clone, the overall techniques used in the planting stage are the same. What does matter, though, is if you’re planning on using above-ground pots or planting directly into the ground. Each has its advantages.
Growing weed outdoors in pots
Growing marijuana outdoors in pots is definitely the easier option. You just need to fill your pot with soil and set it in a good location. Using pots also means that you can easily move your plants as needed to make sure they stay in the best location.
Note: Always take great care when moving a plant. Cannabis plants, especially when grown outdoors, can become incredibly heavy and can break under too much stress.
If you’re growing weed in a pot, be sure to choose one that is large enough for a full-grown plant. Typically, anything in the 30-50 litre range is ideal for outdoor growing.
Growing weed outdoors in the ground
Growing weed outdoors is the best way to maximise your yield. If you want to see just how big your plants can get, then planting them directly into the ground is the best way to go. This will ensure that your plants have all the room they need to put down roots and will make sure that they are as firmly planted as they can be.
Setting up for this, though, is a fair bit of labour.
- Measure: How much space you have determines how many plants you can grow. Make sure to give each plant a minimum of 1 m2 to grow in. Ideally, with outdoor gardens, 1.5-2 m2 is ideal.
- Dig: Get a shovel and a friend and get to work. You should dig each hole about 30-45 cm deep and wide, depending on the expected size of your plant. Once the hole is complete, be sure to break up the soil at the bottom to increase aeration.
- Fill: Put a layer of organic matter such as compost or worm casings at the bottom of the hole and then fill it back about 90% with your desired growing medium.
- Transplant: Put your clone or seedling into the hole and fill the area with growing medium. Make sure that the plant’s roots are fully buried and that the leaves are at least a few centimetres above the soil.
- Water: Immediately water the site to help the soil settle into place. Be careful to avoid over-watering.
Related post

Maintenance and care of an outdoor grow setup
Marijuana plants are generally easy to grow, but you do need to stay on top of regular maintenance – especially outdoors.
Watering and irrigation
How much and how often to water your plants will depend on factors such as the climate, soil type, and stage of growth. Overwatering can lead to root rot and other issues while underwatering can stress the plants and reduce yields.
The simplest means of watering your plants is exactly what you’d think. Fill up a watering can and start pouring. If you’re using pots, you should get some water flowing out the bottom. Generally, try to keep the top 2 cm of the soil just barely damp without letting it get water-logged.
If you’re growing in the ground, it can be harder to know when enough is enough. Investing in a soil moisture meter is a cheap and reliable way to keep track of your plant’s water levels. No matter where you’re growing, though, it’s best to try to keep plant’s leaves dry, to avoid mould growth.
One useful tool for watering is a drip irrigation system, which delivers water directly to the base of the plant roots. This method helps prevent water loss through evaporation and reduces the risk of overwatering. This, however, is another somewhat expensive piece of gear that isn’t strictly necessary.
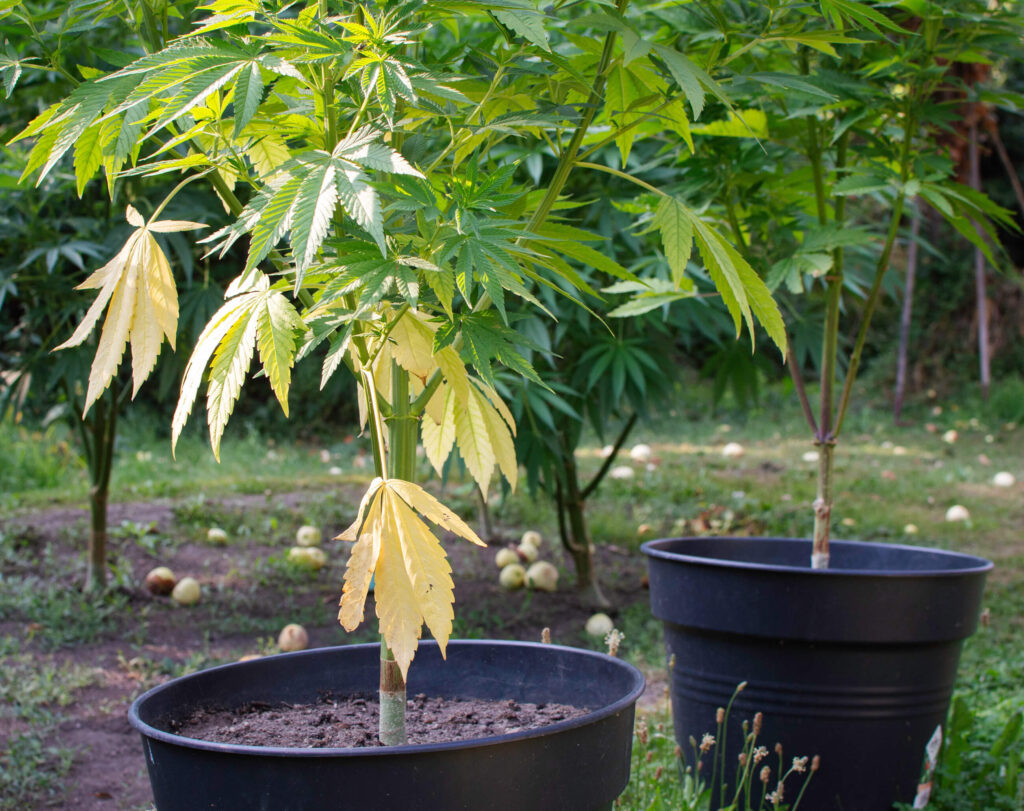
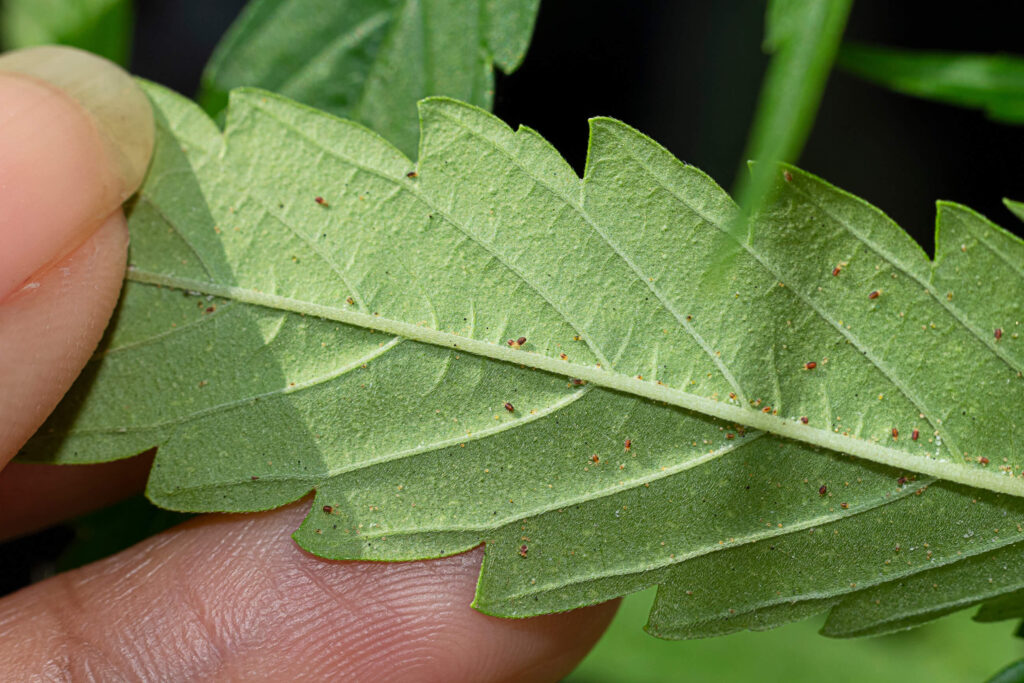
Pest and disease management
The bane of any grower, pests, diseases, and moulds can all quickly destroy an entire crop. Taking proper steps to prevent them from ever appearing might be time-consuming but it just might save your entire summer’s work.
Preventative measures
Inspecting your plants regularly for signs of pests or diseases should be part of daily maintenance. By removing dead leaves and keeping the growing area clean, you can reduce the opportunity for many pests to take hold.
If you’re in an area where bugs are just an unavoidable part of life, introduce beneficial insects such as ladybugs, lacewings, and predatory mites to control pests naturally. Additionally, planting something like marigolds is a popular technique for controlling certain pests like aphids.
Common pests
The exact pests you’ll encounter will depend on where you are, but some are nearly universal.
- Aphids: Small, sap-sucking insects that can stunt plant growth and transmit viruses
- Spider mites: Tiny arachnids that cause yellow or brown spots on leaves and webbing on the plant
- Caterpillars: Larvae of moths and butterflies that can chew through leaves and buds
- Thrips: Tiny insects that cause damage to flowers and foliage
We’ve got a whole article on how to deal with common pests that’s worth checking out before getting started.
Natural remedies
There are several tried-and-true natural remedies for protecting your outdoor cannabis.
- Neem oil: A natural insecticide that disrupts the life cycle of pests
- Diatomaceous earth: A powder made from the fossilised remains of tiny aquatic organisms that can be used to control pests by damaging their exoskeletons
- Garlic and chili pepper sprays: Homemade sprays that can repel insects and deter them from feeding on plants
These are all great preventatives and can be used to deter a small infestation if it’s caught early. However, if something slipped under your radar and has gotten out of control, it might be time for a last-ditch effort.
Chemical treatments
Pesticides and fungicides can be used to control pests and diseases but should be used sparingly and with caution. They can cause damage to beneficial bugs and pollinators and can even cause lasting damage to the plant. These also should never be used during the flowering stage as they can ruin your buds.
You want to identify and address pest and disease problems as early as possible to prevent them from spreading and causing significant damage to the plants. Regular monitoring and preventative measures, combined with natural and chemical treatments when necessary, can help keep the plants healthy and productive.
Related post

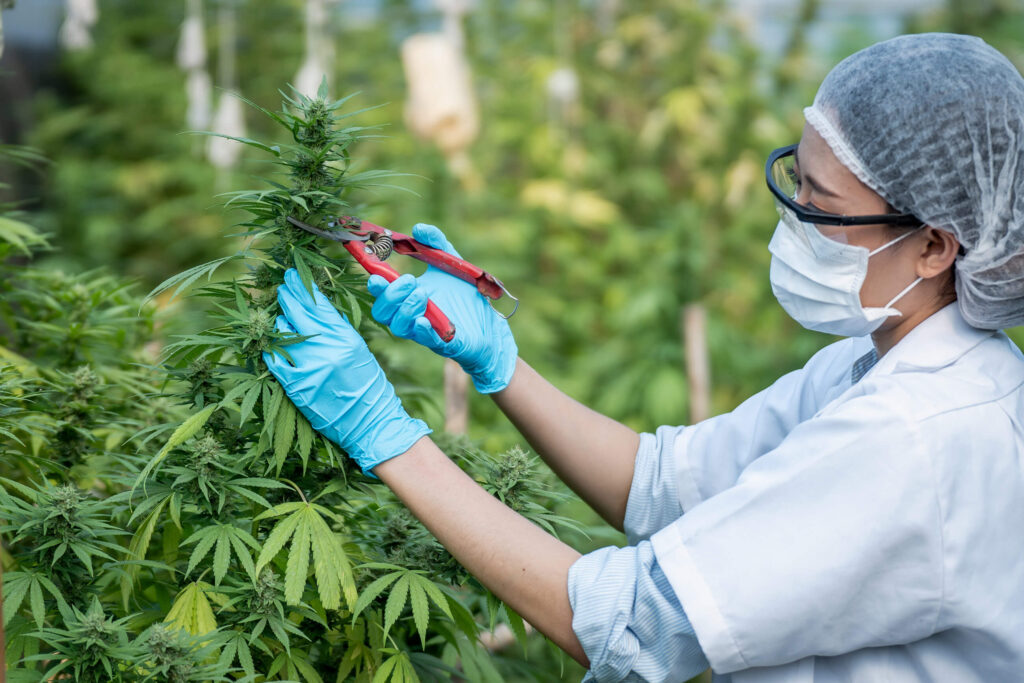
Pruning and training
Pruning and training can be used to maximising your outdoor grow yield and improving plant health. Pruning is the act of selectively removing leaves and branches to improve airflow and light penetration. This has the effect of increasing bud growth while reducing the risk of disease. Topping is one of the most common pruning techniques and involves cutting off the top of the main stem to promote lateral growth, creating a bushier plant.
Besides pruning, several training techniques can help improve plant growth and yield. Trellises provide support for plants and help to keep them upright, which can be especially important for larger, heavier flowering plants.
Training techniques can also help to maximise space utilisation, which is especially needed in outdoor cultivation where space can be limited. For example, low-stress training (LST) involves bending the branches and tying them down to create a more horizontal canopy, increasing light exposure and leading to higher yields.
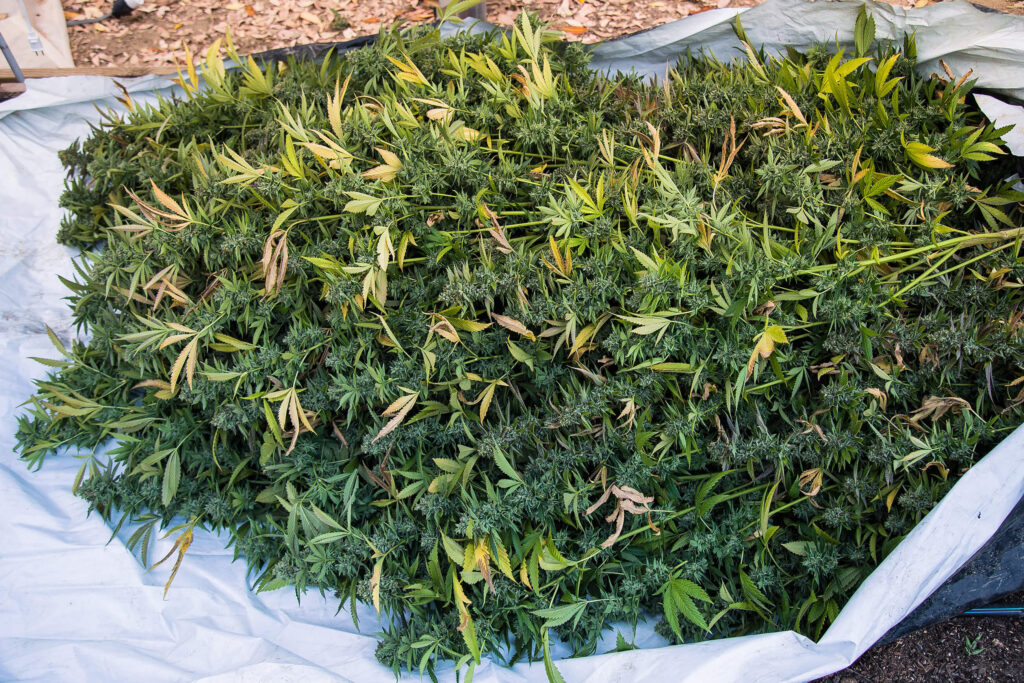
Harvesting and curing
Harvesting and curing are critical steps in the cultivation process that can impact the quality and potency of the final product. Here are some considerations:
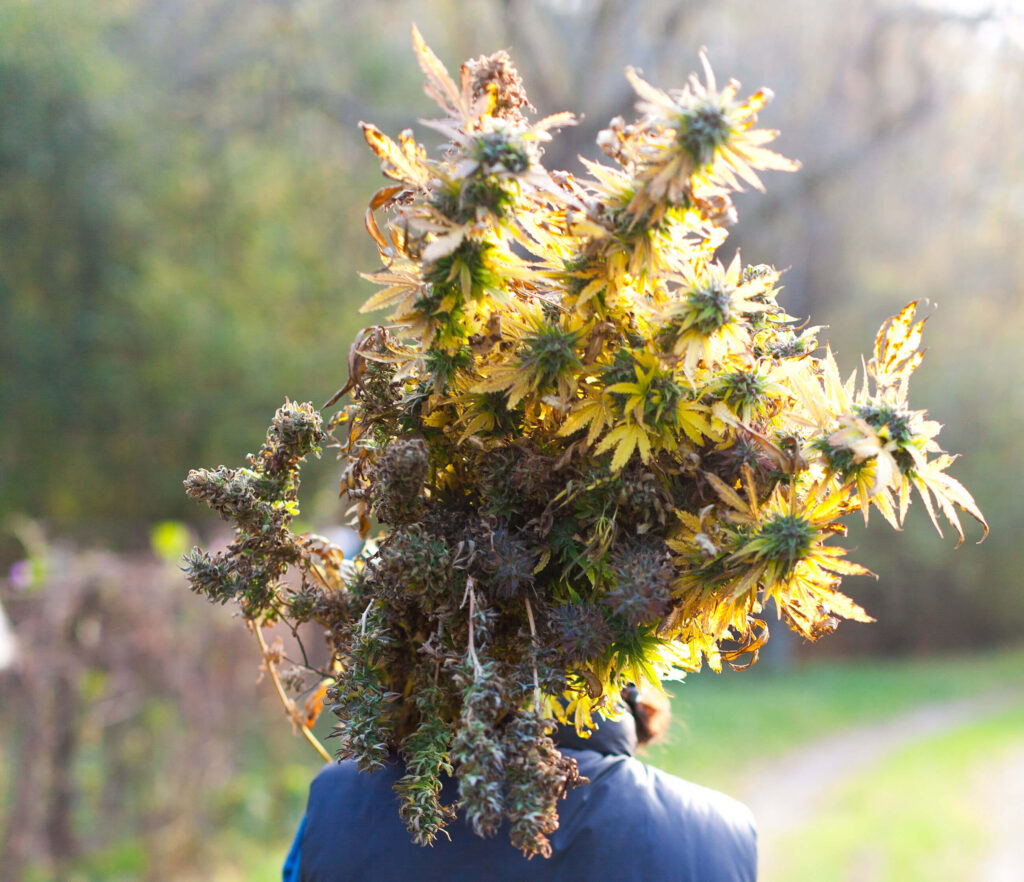
When should I harvest outdoor cannabis?
The best time to harvest your plants depends on the strain and your location. One of the surest ways to determine the best time to harvest is by monitoring the trichomes. These are the little crystals on the buds that store the cannabinoids and terpenes. A handheld microscope can be used to examine the trichomes and look for changes in colour and clarity. Generally, harvesting should occur when the trichomes are cloudy and amber in colour.
Check the description of your seeds to see how long the strain normally takes. While that isn’t a guarantee, it does provide a great guide.
Techniques for harvesting outdoor plants
Handle the plants carefully during the harvest to avoid damaging the buds. Perhaps the easiest method is to simply cut the plant down and hang it upside down in a cool, dry place to allow the buds to dry.
Drying and curing
After a few days, pull off the driest leaves and separate the plant into a few larger branches and let those dry for another few days. Finally, remove the buds, give them a final trim, and move on to the curing phase.
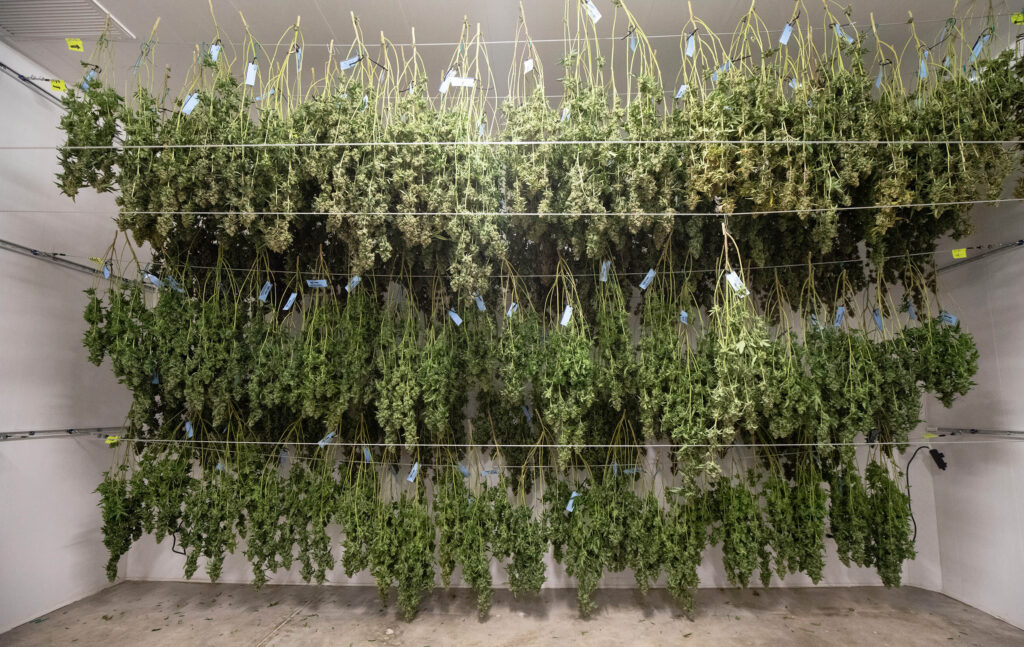
Note: During this phase, proper ventilation is vital. The plants will create a large amount of humidity and if the drying area isn’t continually getting fresh air, your plants are susceptible to mould, ruining your entire summer.
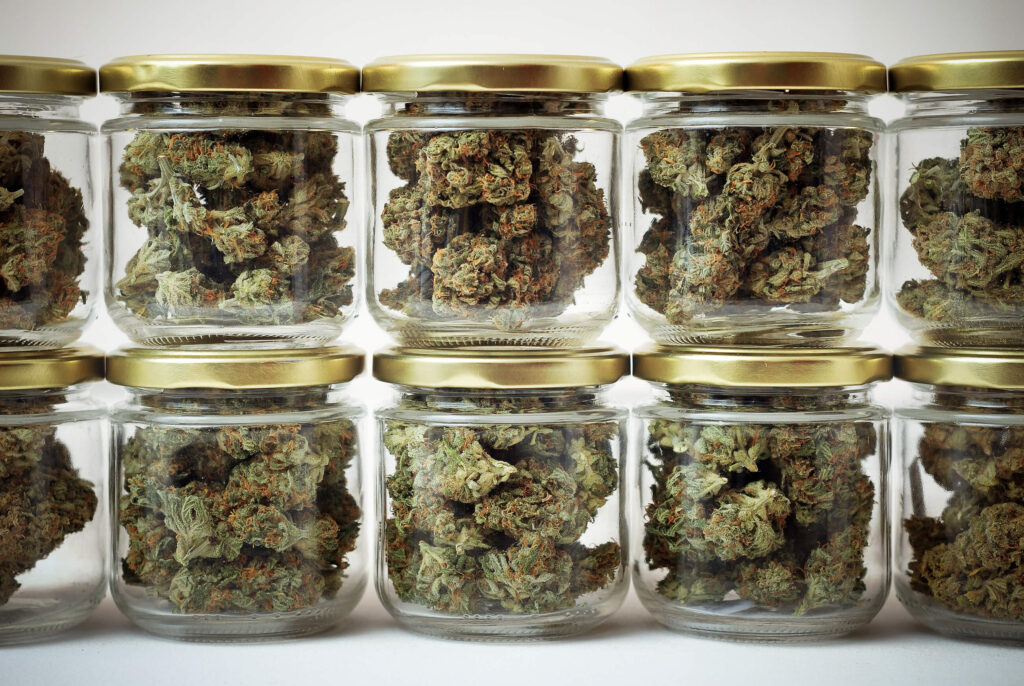
After drying, move your buds to airtight jars for several weeks to allow the remaining moisture to evaporate and enhance the flavour and aroma of the buds. During this time, you will want to monitor the weed’s humidity levels and to open each jar for a few minutes at a time once or twice a day to let the buds breathe.
Related post

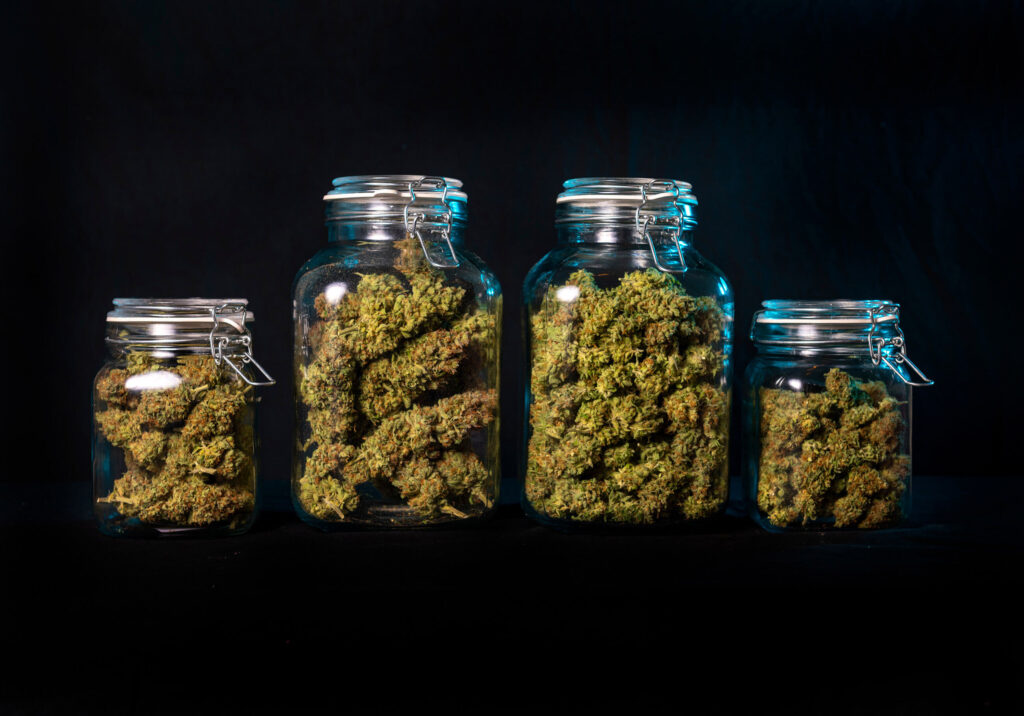
Storing and preserving cannabis
Proper storage is critical for preserving the potency and quality of cannabis. Keep the buds in a cool, dark, and dry place to prevent mould and degradation. Glass jars with airtight lids are a good option for storing cannabis long-term. Additionally, vacuum-sealed bags can be stored in a freezer for extended periods.
This guide only scratches the surface of what it takes to create the ultimate outdoor grow setup, but if you follow these steps, you’ll be well on your way to getting started with one of the most rewarding hobbies out there.
Are you a seasoned grower with some tips we missed? A newbie with some questions that we didn’t cover? Sound off in the comments.
