


The longest journey begins with a single step and growing cannabis is no different. While often overshadowed by the much more citing flowering phase, the seedling stage of your weed plants is perhaps the most important time in their entire lives. By setting them up for success early, you can minimise hassle and maximise yields down the road.
- Creating the perfect environment for cannabis seedlings
- Setting up for success
- 1-week-old seedlings: planting the germinated seeds
- When to transplant cannabis seedlings
- How to transplant cannabis seedlings
- 2-week-old seedlings: caring for your new plants
- Common problems and solutions in a cannabis seedling
- How to avoid seedlings damping off
- Avoiding nutrient burn
- How to prevent pests
- Preventing stretch in seedlings
- Over/underwatering cannabis seedlings
- 3-week-old seedlings: Transitioning to the vegetative stage
Taking the time to set your plants up with the right conditions will pay huge dividends down the road. By following a few basic guidelines, you can make sure that your cannabis plants are happy, healthy, and ready to go in as little as three weeks.
Creating the perfect environment for cannabis seedlings
Cannabis plants are resilient, but they’re not invincible. Creating the perfect environment for your seedlings is the single most important thing you can do. Without going into too much detail, cannabis seedlings thrive under fairly specific conditions.
Space
Seedlings on their own don’t take up much space, but you’ll want to give them more than enough room to grow. Plants typically avoid growing into contact with other plants, so once leaves start bumping into each other, the plants stop growing “out” and start growing “up”. Generally, this kind of crowding is best avoided so make sure that your plants have plenty of room at every stage of growth.
Light
Light is always going to be the most important factor in any grow and that starts from day 1. While it might be tempting to think that plants don’t need light until they have leaves, that’s not entirely true. Most plants (including cannabis) are phototrophic, meaning that they always grow directly towards the light.
You don’t need to use the full power of your grow lights, but make sure that they are within 5-10 cm (depending on heat and intensity) from the top of the soil for the first few days. Many growers prefer to use low-intensity CFL bulbs for the first few weeks as too much light at this stage can damage the plant.
Temperature
At this stage, plants like it a bit warmer than at the flowering stage; try to keep the area between 20–25°C. Going more than 5° outside of this range in either direction is likely to damage the plant. If you start seeing the leaves curl upwards or stems wilting, check your thermometer.
Humidity
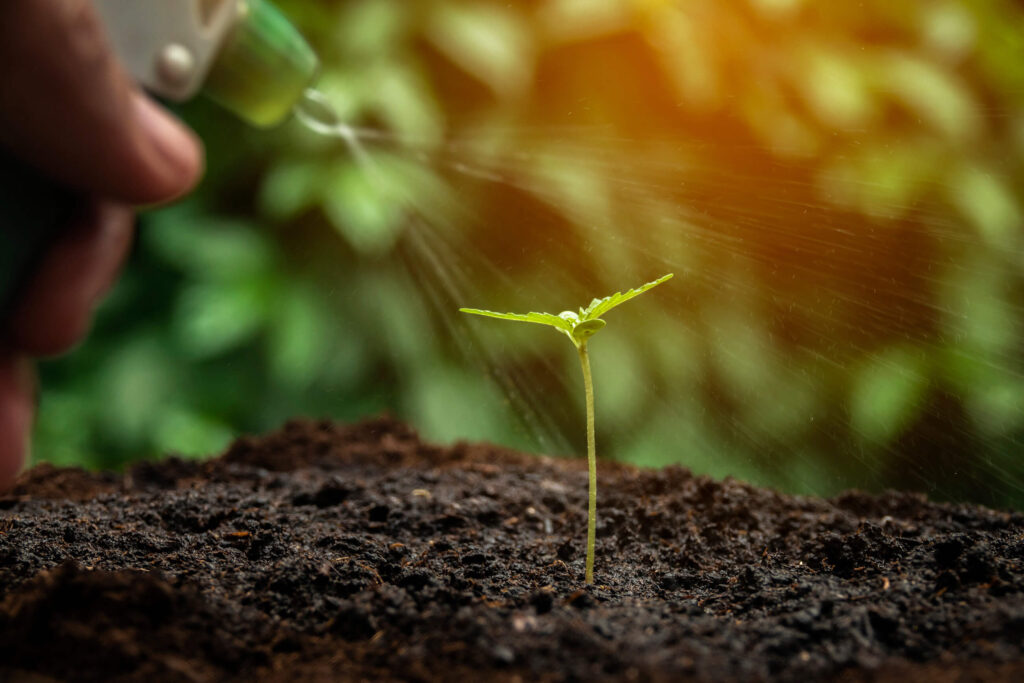
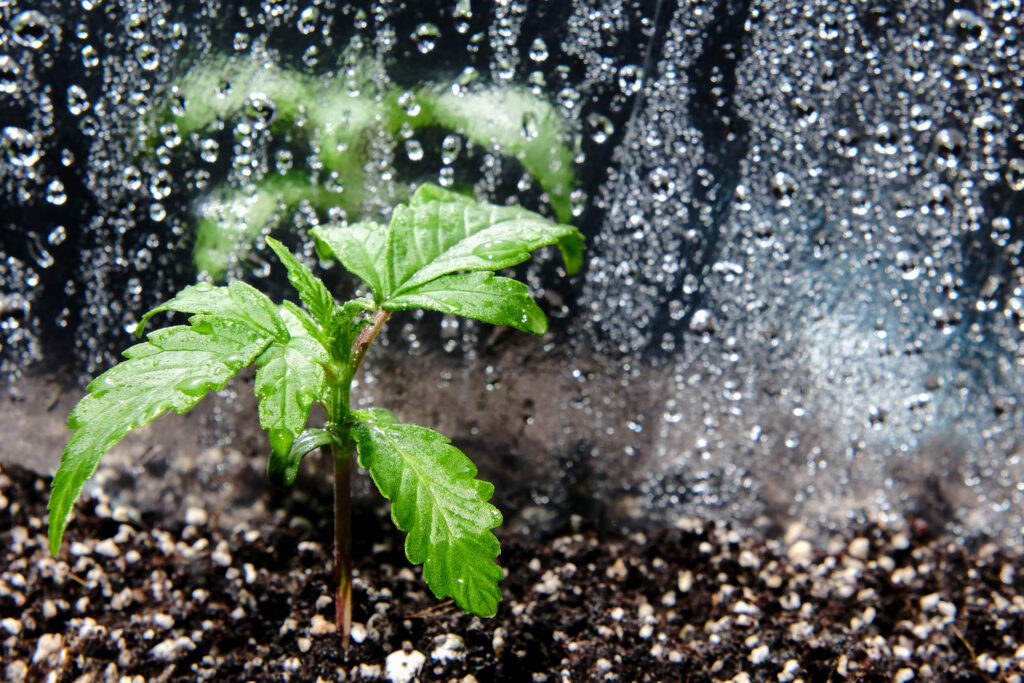
This is an easily overlooked part of proper seedling care. Since the plants at this stage still haven’t developed roots, they are drawing most of their moisture from the air around them. To make sure that your plants have enough water, keep humidity around 65%. Going lower than this will seriously limit the plant’s growth and going much higher can lead to leaf rot, mould, or fungus.
Several times a day, be sure to lightly mist your plants with a spray bottle. However, be careful not to overdo it. You don’t want pools or drops of water forming on the leaves. A very light misting is more than enough.
What if I’m growing outdoors?
Even if you’re going to be doing all of your growing outdoors, you should still be keeping your seedlings indoors. As mentioned, they are incredibly fragile at this point and it’s better to be safe than sorry.
Related post

Setting up for success
Before getting carried away, it’s worth investing a bit of time to do your research and get your equipment in order. The good news is that if you’re reading this, you’re already halfway there. Making sure that your grow space is outfitted with the proper light and environmental controls will help you avoid any delays when it comes time to transplant.
Read more about how to set up an indoor grow space.
Pick the right genetics
It might sound obvious, but picking the right genetics can make or break your grow. But what does “the right genetics” actually mean? While there’s no single answer to that question here are some things to keep in mind when choosing a strain.
Location and space: This is probably the first decision that you made when you were thinking about growing weed. While any strain can be grown indoors, trying to cram a strain that normally hits 3-4 meters into a closet or basement is possible, but you’re not doing yourself any favours. Most indoor growers prefer indicas or hybrids as these tend to be shorter and bushier.
Preferred climate: Some strains do better in cooler areas, some like it a bit dry, while others thrive in a hot and humid tropical environment. Do some experiments and figure out the resting ambient temperature and humidity of your grow space with all your equipment running and try to find a strain that fits what you’re working with. This is going to be easier than adjusting your environment to fit a specific strain.
Prepare your growing medium for your seedling
At the seedling stage, it doesn’t matter if you’re doing soil or hydro but having your pots or reservoir all set up before you even start germinating your seeds is always a good idea. Remember, there’s no pause button on these things so once you start you’re locked in; be ready.
Germination
Once you’ve got your seeds selected and your space set up, it’s time to get to the fun part. Germinating your seeds is remarkably simple and I’ve outlined the two most common methods below.
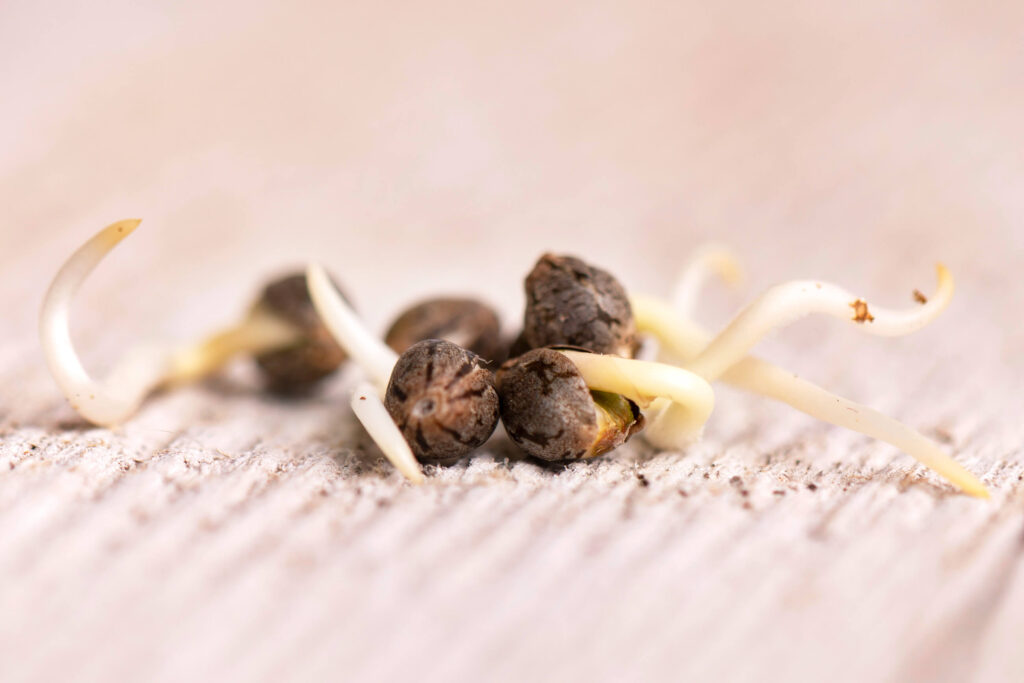
Paper towel: The most tried-and-true method out there (and the only one officially endorsed by us), this should be familiar to anyone who has ever done any gardening. Simply place a few paper towels on a plate and evenly space your seeds on top of them. Next, cover the seeds with another paper towel (or two if they’re fairly thin), and then pour a small amount of water over the towels.
It’s important not to drown the seeds; you want the whole thing damp, not soaked. Next, place the entire plate into a plastic grocery bag, make sure there’s plenty of air in there, and tie it shut. It doesn’t need to be airtight, but you want to make sure that the inside of the bag stays very humid. Put the whole thing in a warm place (20–25° C) and wait. Over the next 2-5 days, you’ll notice the seeds crack open and a small taproot should pop out. If they don’t pop, don’t give up yet – they might sprout even after 14 days.
Cup of water: Perhaps the simplest method out there, all you need to do is drop your seeds into a cup of warm (not hot!) water and wait. After 24-48 hours, you should notice the seeds beginning to germinate. If the seeds haven’t sprouted their taproot after 48 hours, switch to the paper towel method. Don’t leave the seeds in longer than 48 hours as this is likely to drown them.
This technique is ideal if you’re planning on germinating dozens (or hundreds) of seeds at once as it takes less space and time. However, it has a slightly lower success rate overall. Personally, I prefer the paper towel method. It’s also the method officially endorsed by WeedSeedShop.
Related post

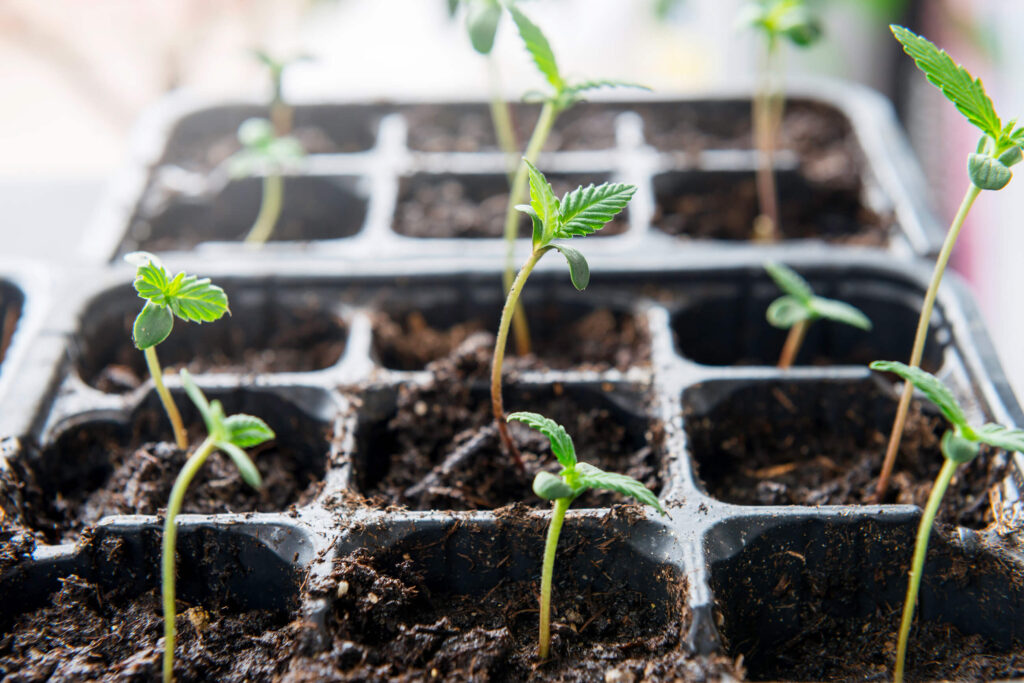
1-week-old seedlings: planting the germinated seeds
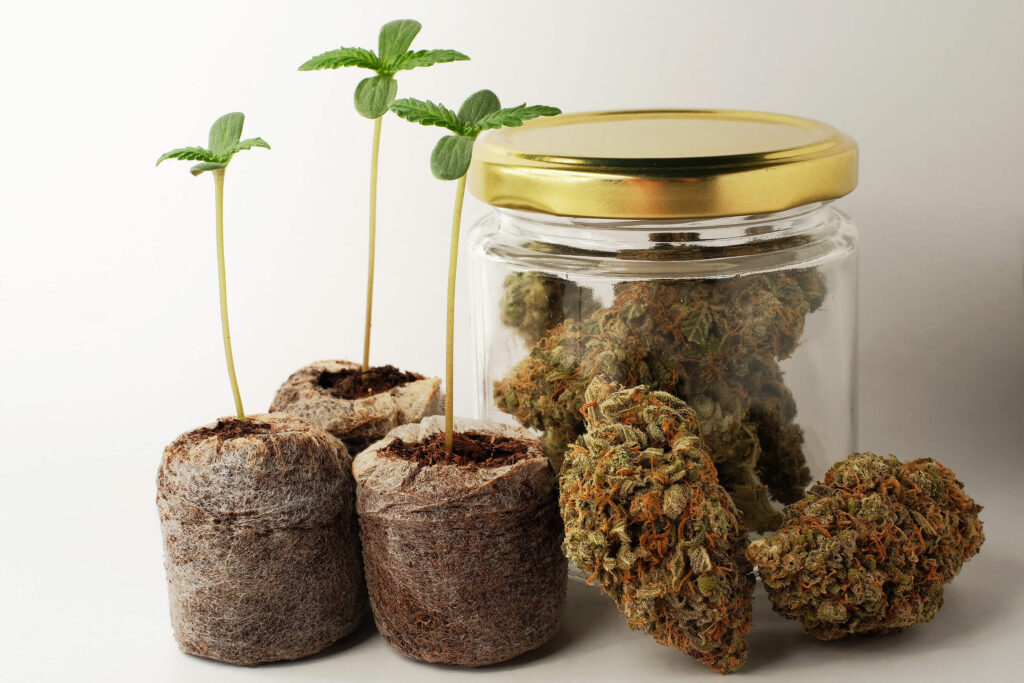
Once your seeds have germinated (exposed the taproot), it’s time to transfer them to their first real home—the seedling tray. Functionally, all of these trays are the same, so pick one whose size best fits your needs. Oh, and don’t forget the sponges. While some growers prefer to put their fresh seedlings directly into the soil, I’ve found better success with placing them into rooting sponges.
Exactly what kind you choose is up to you and the medium you’re growing in. Rockwool is a great choice for hydroponics while Jiffy tablets are a great choice for soil growers. Standard rooting sponges can be used for either, though these are often better for clones than seedlings. Their higher density can sometimes prevent seedlings’ taproots from penetrating.
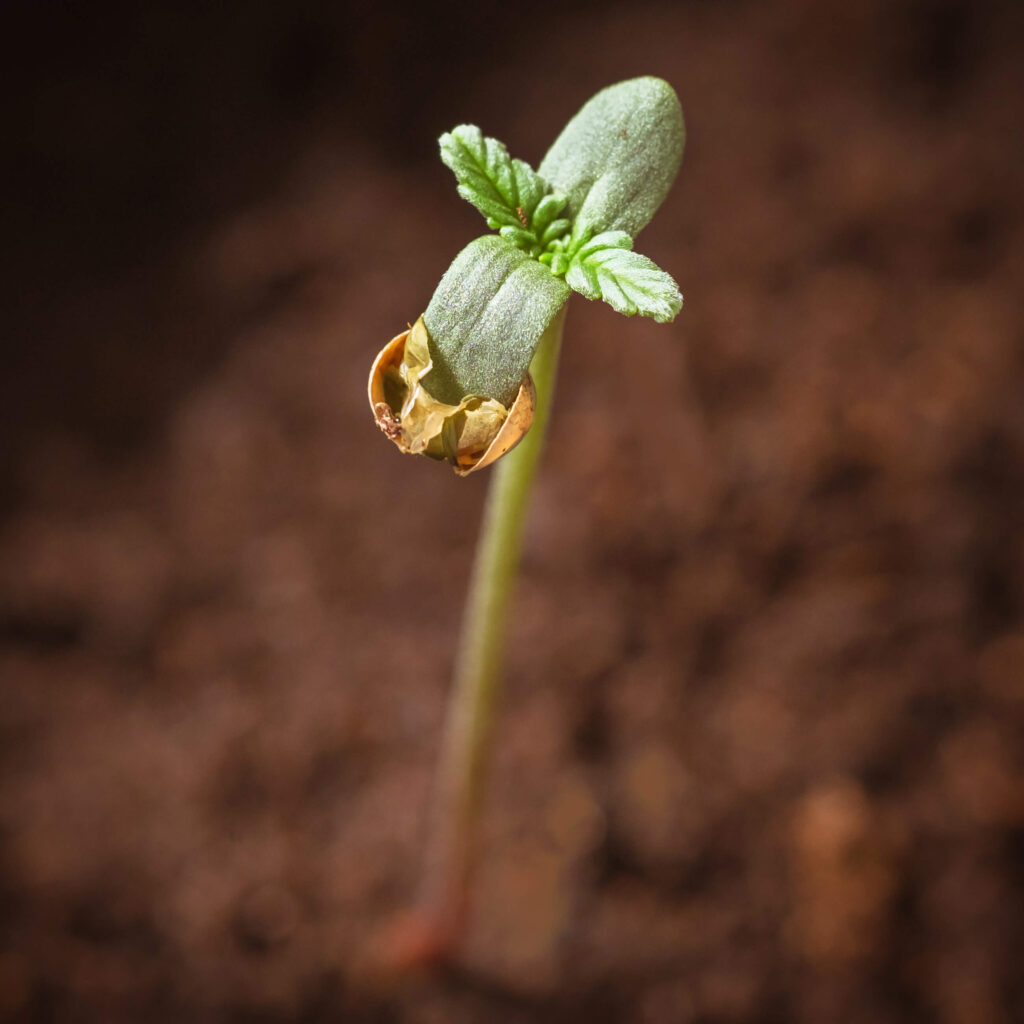
When placing freshly germinated seeds into any medium, it’s important to palace to taproot (the little white tail) downwards. This will make sure the plant doesn’t waste any time or energy trying to turn itself around and will help it sprout significantly faster. Once the seeds are planted, they should sprout in the next 2-3 days.
Over the next several days, be sure to keep an eye on the moisture levels of the sponges. They should remain damp at all times but shouldn’t really drip if pulled out of the tray.
How many seeds should I germinate?
Obviously, this depends on how many plants you want to harvest but there are a few things to keep in mind. Not every seed will germinate (though 90-95% success rates are common), not every seedling will survive, and not every vegetating plant will be big or healthy enough to flower.

If you’re using standard, non-feminized seeds then you’ll want to plant more than twice what you want to harvest. So, if you want to harvest 5 plants in a few months, you should plant 12-15 seeds. This is because half of these seeds could be male, making them (largely) undesirable for most growers.
If you’re using feminized seeds, you should germinate anywhere from 7-9 just to give yourself options. In the best-case scenario, they all survive and you’ve got your pick of the best when it’s time to cull the herd.
When to transplant cannabis seedlings
Once your seeds begin to sprout, you might think it’s time to throw them into their next pot. Well, patience is a virtue so take a step back and give them some time. At this stage, these seedlings are incredibly fragile and any sudden shock could do permanent damage.
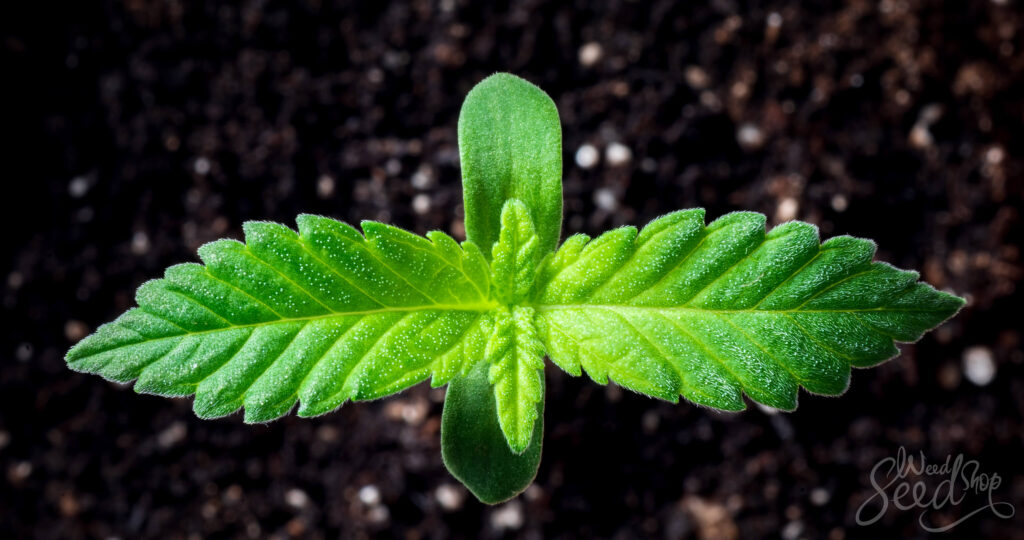
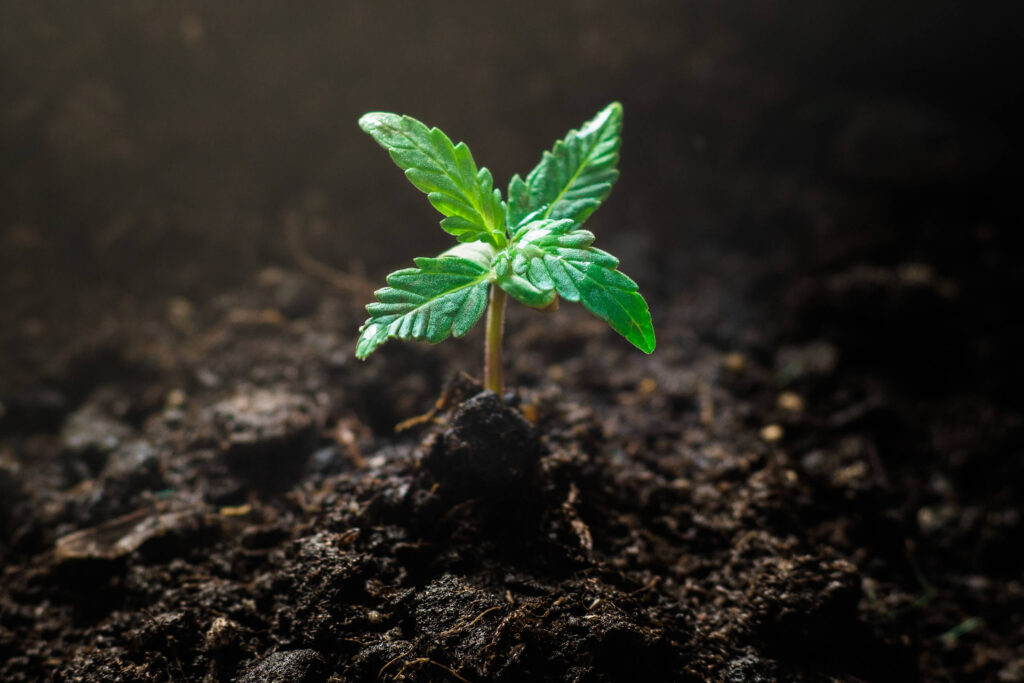
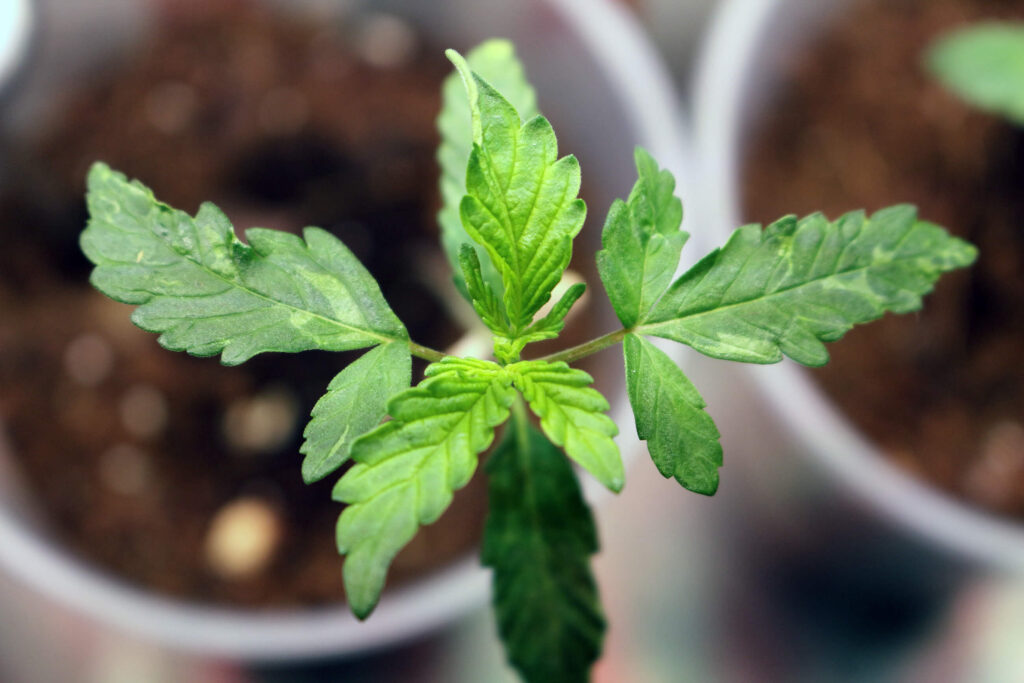
When your plants first pop above ground, you’ll notice two small leaves that don’t look much like a typical pot leaf. These are called “cotyledon leaves” and are essentially the plant’s embryo. These early leaves will jumpstart the photosynthesis process as well as provide the seedling with enough nutrients to grow its roots and first proper leaves.
Over the next several days, your plants will grow their first set of true leaves; the classic three-pointed kind. At this point, they should also have roots coming out of the bottom of the seedling tray. Now, it’s time to transplant them.
Related post

How to transplant cannabis seedlings
Whether you’re growing in soil or hydro, the process for transplanting your seedlings is remarkably simple.
If you’re growing in soil—indoors or outdoors—all you need to do is dig a small hole in your grow site to place the seedling into. This hole shouldn’t be more than a few centimetres deep, but it should completely cover the sponge while still leaving enough space between the soil and the leaves for air to flow.
For hydroponic setups, it’s a bit more complicated. As there are several types of setups and media used, there’s no single method. However, if you’re using net cups and a medium like clay pellets or coco coir, the process is the same as for soil, just with smaller pots.
2-week-old seedlings: caring for your new plants
Once you’ve got your seedlings into their new home, it’s time to start properly taking care of them. It’s important to keep in mind that these plants are still fragile. Over the next few weeks, they’ll develop a robust root network and become far more resilient, but for now, take it easy.
What’s the best way to water seedlings?
The first thing to do after transplanting your seedlings is to water them. While there is no universal rule for how much or how often to water any plants, there are guidelines that should be kept in mind.
Generally, it’s best to void watering your plants directly at the stem. Plants’ roots are incredibly sensitive to moisture and will reach out until they find it. By watering away from the stem, you can cause the roots to stretch out further in search of water. This has the added benefit of preventing too much moisture from accumulating around the stem as this can quickly become a breeding ground for all manner of pathogens.
When should I water cannabis seedlings?
The best time of day to water plants at any stage is early in the morning — or right after your grow lights come on if you’re growing indoors. This allows the plants to absorb the water throughout the day and keeps the soil from drying out in the heat. Additionally, the evaporation caused by the heat and light will help keep the soil from staying too wet. That can lead to fungal or bacterial infections which can quickly kill an entire grow at this phase.
How often should I water seedlings?
It depends. Changes in ambient temperature, humidity, and airflow will all affect how often plants need to be watered. As a general rule, though, you want your soil to be damp, not wet. The top should usually even be dry (unless you’ve just watered). To see if it’s time to water your plants, stick a finger about 2 cm into the soil, if it feels dry, it’s time to water them.
Related post
How do I feed seedlings?
There’s no real difference between feeding a seedling and feeding an older plant. If you’re using liquid nutrients, follow the instructions printed on the bottle, they almost always have a seedling ratio clearly listed. Likewise, if you’re using fertiliser or solid nutrients, do as the label prescribes. Many grow media used today come preloaded with nutrients that should last the first 4-6 weeks of a plant’s life. If you’re using one of these, all you need to do is add water and you should be all set.
Maintaining proper airflow
While external ventilation is important, internal airflow is often overlooked. Keeping the air circulating inside your grow space will help prevent moisture buildup, limit insect intrusion, and provide an overall healthier environment for your plants.
At this early stage of development, keeping a small fan on your seedlings is critical. A small oscillating fan pointed directly at the plants will cause them to develop a sturdier stem and branches which will later help them to support fuller, heavier buds. You don’t need a strong fan, the leaves should be fluttering a bit in the breeze, but the stems shouldn’t be getting bent or blown over.
Common problems and solutions in a cannabis seedling
How to avoid seedlings damping off
One of the biggest dangers facing young seedlings, damping off can completely kill a seemingly healthy plant in less than 24 hours. This phenomenon is caused by several types of fungus that can lie dormant in soil for years only to wake up when they are greeted with overly wet conditions. Overwatering or high humidity are the most common contributors to damping off.
If you notice that your seedling has suddenly wilted over at the stem and begun to shrivel, damping off is the most likely cause. At this point, there is nothing that can be done and the plant and any soil it’s in should be thrown out immediately. These kinds of fungal infections are highly contagious to other plants and can destroy an entire harvest before it’s even started.
Adequate internal airflow and keeping a close eye on the humidity and soil dampness are key to preventing damping off. Additionally, it’s possible to sterilise your soil by baking it in an oven until the soil is at a consistent 85° C.
Avoiding nutrient burn
Seedlings are highly susceptible to nutrient burn from overfeeding. If your leaves or stems are showing discolouration, especially browning, it’s likely a sign of nutrient burn. If you’ve overfed your plants, there’s little you can do but wait. As long as you stop feeding, add some new water to dilute the concentration, and wait a week for new growth to appear, you should be fine.
If you’re growing in a hydroponics setup and notice nutrient burn, it’s usually enough to just add in a few litres of fresh water, though completely draining the reservoir, replacing it with fresh water, and waiting a few days is typically a safer bet.
How to prevent pests
Several species love to call weed plants home and keeping them out of your garden is a constant battle (even indoors). Luckily, during the seedling stage, any kind of infestation is pretty easy to notice. Common pests like spider mites, fungal gnats, and thrips all present themselves in different ways and may call for different treatments depending on your case. Read our full guide on dealing with pests in your grow room for more detailed information.
Related post
Preventing stretch in seedlings
Stretch occurs when seedlings don’t have access to enough light. As mentioned, these plants naturally grow directly towards a light source, so it if’s too dim or too far, they’ll just keep growing taller and thinner until they’re happy.
By giving your cannabis seedlings adequate light coverage from the get-go, you ensure that they have access to enough energy to properly take root. Providing light early also helps to combat stretching which can do permanent damage to a plant. Seedlings can stretch a tremendous amount in only 12 hours, so don’t wait for your seedlings to sprout before switching on the lights. CFL lights with a bluer spectrum are ideal at this point. Be sure to keep them about 5 cm above the plants for optimal coverage.
If a plant is beginning to stretch, lower your light, make sure that the plant is in the path of a fan, and find something to prop it up. A bit of gardening wire (or even a paperclip in a pinch) should provide enough support for the seedling while it gets back in shape.
Over/underwatering cannabis seedlings
The answer to how much water a plant needs is “enough, but never too much.” If that sounds like a confusing answer, well, it is. Giving your plant too much or too little water is a quick way to kill it, luckily, though, they’re both easily avoided.
Overwatering
If you’ve been overwatering your plant then you’ll likely begin to notice yellow droopy leaves and the plant likely won’t be growing vertically at all. In soil, overwatering causes the medium to compact around the roots depriving them of much-needed oxygen. That’s right, roots breathe and need fresh air. If you’re growing hydroponically, then keep about ⅓ of the roots out of the water and be sure to use an airstone.
Sadly, if your plant is showing signs of overwatering, there isn’t too much that you can do aside from letting the soil dry out and hoping for the best. It’s best to take steps to prevent overwatering such as using fabric pots, ensuring internal airflow, and using a medium with good drainage (co coir is a great choice).
Underwatering
The signs of underwatering are, confusingly enough, almost the same as overwatering. You’ll notice yellow droopy leaves and limited growth. The major difference, though, is that these yellow leaves will feel crispy and brittle as opposed to soggy. If your plant seems too dry, it’s easy enough to just add some more water and give it a couple of days. These things have a habit of bouncing back with a little attention.
3-week-old seedlings: Transitioning to the vegetative stage
Once your plants have been in their new pots for about a week, they should be close to 3 weeks old, give or take a few days. By now, they should have developed enough roots and leaves to begin properly growing. At this point, it’s time to turn on the big lights, bust out the nutrients, and start growing these things into proper plants.
