


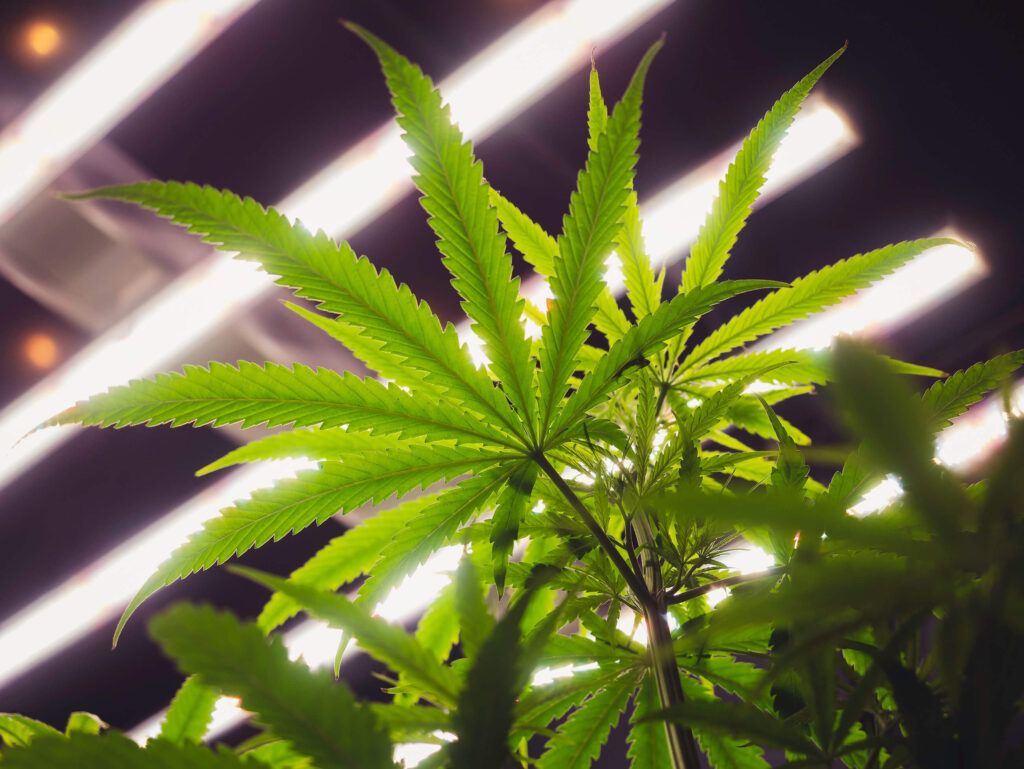
There’s nothing more important to a cannabis plant than light—the more the better. After all, nothing that you could put in a closet can possibly do more than the actual sun, right? Well, yes and no. While it’s true that more light (typically) means more weed, there is too much of a good thing and light burn can kill even the healthiest plant if you’re not careful.
Light stress, broadly speaking, can be caused by either too much light or not enough. For this article, I’ll focus on what happens when your light gets too much as this is a far more common issue.
What causes light stress in cannabis plants?
OK, time for a little 3rd-grade biology lesson. As we all know, plants use photosynthesis to grow. In short, the leaves collect the light and use that energy to break down the raw nutrients absorbed by the roots and turn them into usable energy. The more light a plant gets, the more nutrients it can absorb. Easy stuff.
So, when a plant doesn’t get enough light, it can’t convert enough of the absorbed nutrients and slowly starves to death. This is known as “low-light stress” and can usually be fixed by just adding more light and waiting a bit. This principe applies to all plants, including cannabis.
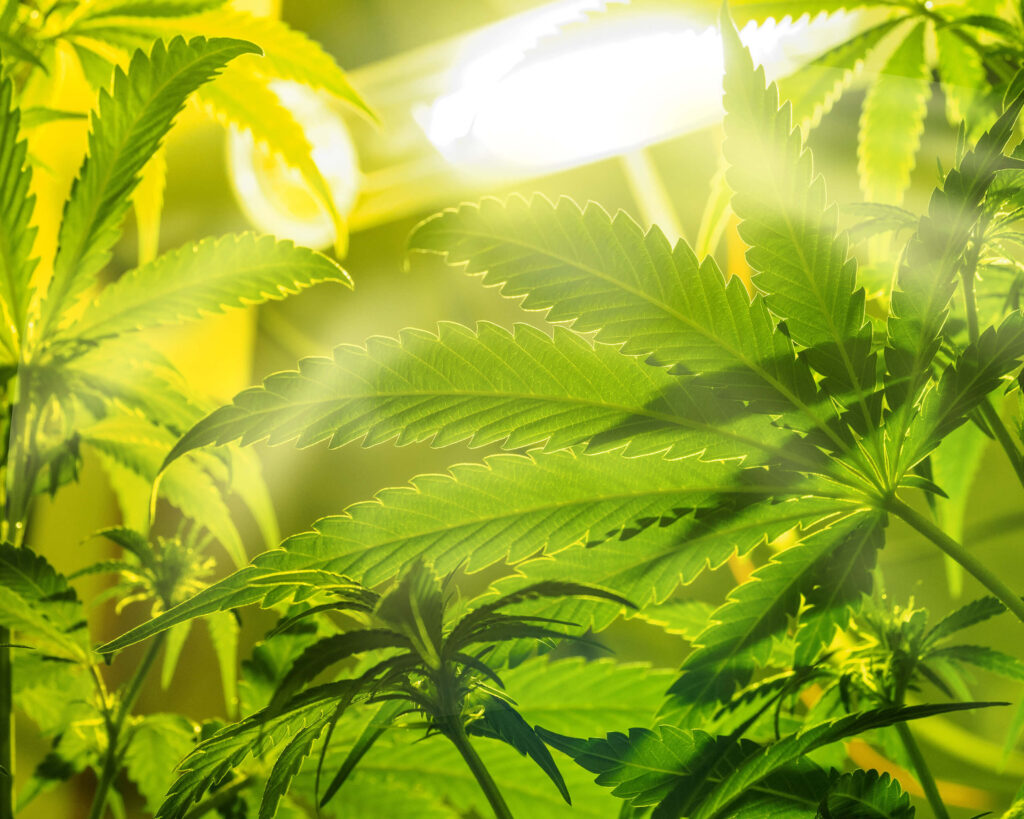
But there’s another, far more dangerous way that light levels can damage your plants. High-light stress occurs when your plant gets more light than it needs. While that might sound a bit counterintuitive, it’s easily compared to overwatering. Too much of a good thing. This is sometimes referred to as ‘light burn’, although that is more related to excess heat coming off of a light that’s too close to a plant.
If a cannabis plant gets too much light, this can lead to a host of issues. Without going too much into the science of things like “reactive oxygen species” or the “inactivation of photosystem II in chloroplasts”, it’s easy to think of a simple metaphor. We all need calories to live, but too many for too long is terrible for our health. If you ingest more calories, then you need to exercise more to burn them off. Light for cannabis plants functions (largely) the same way.
If cannabis gets more light than it needs, then it also needs more nutrients (as the light causes them to get used up) and more water (to deal with the increased transpiration, plant breathing). If a plant isn’t given enough nutrients and water to match the light it receives, then you wind up with high-light stress. More light can also lead to more heat, which can lead to higher humidity, causing other problems, but those are topics for another day.
The amount of light that a cannabis plant needs depends on the available resources. If a plant has endless access to nutrients, room to grow, proper ventilation, and everything else that it needs, then there really is no such thing as too much light (kind of, more on that below). However, no indoor grow can provide these conditions, meaning that there’s a hard limit on how much light plants can typically tolerate.
Related post
How much light do cannabis plants need?
This is a tricky topic and the “right” answer depends on a range of factors. To get to the heart of the matter, we’ll need to look at some numbers. But first, we need to define what all of these numbers actually mean and their importance to growing cannabis.
Lumens
Lumens (abbreviated “lm”) are the primary unit of measurement for looking at the total amount of visible light emitted by a light source and measuring the brightness of light as perceived by the human eye. However, lumens don’t provide information about how the light is distributed across different wavelengths, which is important for cannabis plant growth.
A heavy-duty flashlight might be able to put out more raw lumens (up to 90,000) than a typical grow light (a 400-watt HPS bulb emits only about 50,000), but the light is all concentrated in a small area, making it unfit for growing.
Lux
Abbreviated “lx”, lux measures the “illuminance” of a light; the amount of light falling on a surface per unit area. This is generally measured in lumens per square meter (lm/m²) meaning that lux takes into account both the intensity of light and the area over which it is spread. Overall, though, lux measures visible light and is more important for areas where people need to see as opposed to PPFD which is discussed below.
With that said, lux meters are cheap and easy to get and do serve as a rough guide to light levels. Lux levels of around 40-60,000 are ideal for vegetating while levels of 60-80,000 are preferable for flowering.
PPFD
Photosynthetic Photon Flux Density might sound fancy, but it’s just the measurement of actual photosynthetically active photons (light that the plant can use) that fall onto a certain area. Not all light is created equal when it comes to growing cannabis and certain wavelengths are better than others. PPFD is measured in micromoles per square meter per second (µmol/m²/s) with a higher number meaning more light.
Typically, cannabis plants use light in the usually 400-700 nanometers range (coincidentally, this is roughly the range of visible light) so only light in this range will help the plant. In general, PPFD is the best measure of how even your lighting is and any good grow light should include a PPFD chart showing the levels at different heights.
PPFD is the standard metric for measuring light in growing and optimal levels can range from 200 to 600 µmol/m²/s during the vegetative stage to 600 to 1000 µmol/m²/s (or higher) during flowering.
PAR
PAR stands for Photosynthetically Active Radiation and is a measurement of how much of the light that a lamp gives off is usable by a plant. This is related to PPFD in that both measure the amount of usable light that a plant receives, but PAR is about the percentage of usable light emitted by the lamp while PPFD is the amount of light received by the plant.
What about Watts?
While most lights are sold in terms of watts (or “wattage equivalent” for LEDs) this isn’t really a measurement of light output, but of energy input. Yes, more energy in means more light out, but just relying on a light’s wattage isn’t a good metric.
Signs of light burn in cannabis
If you start seeing the following signs, then you may want to adjust your lights. While many of these symptoms can—individually—be caused by multiple problems (overwatering, nutrient deficiencies) the presence of 2 or 3 of these almost certainly means light burn.
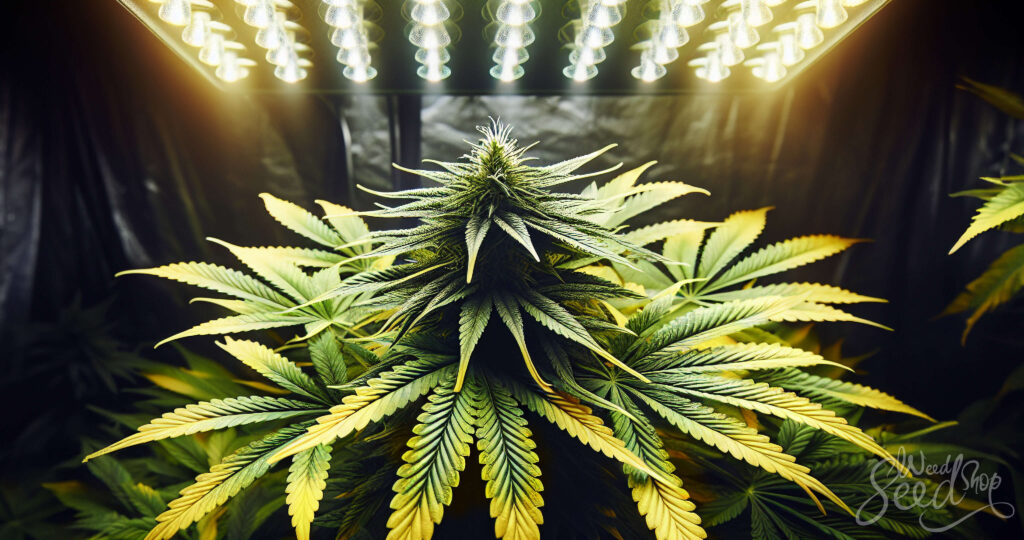
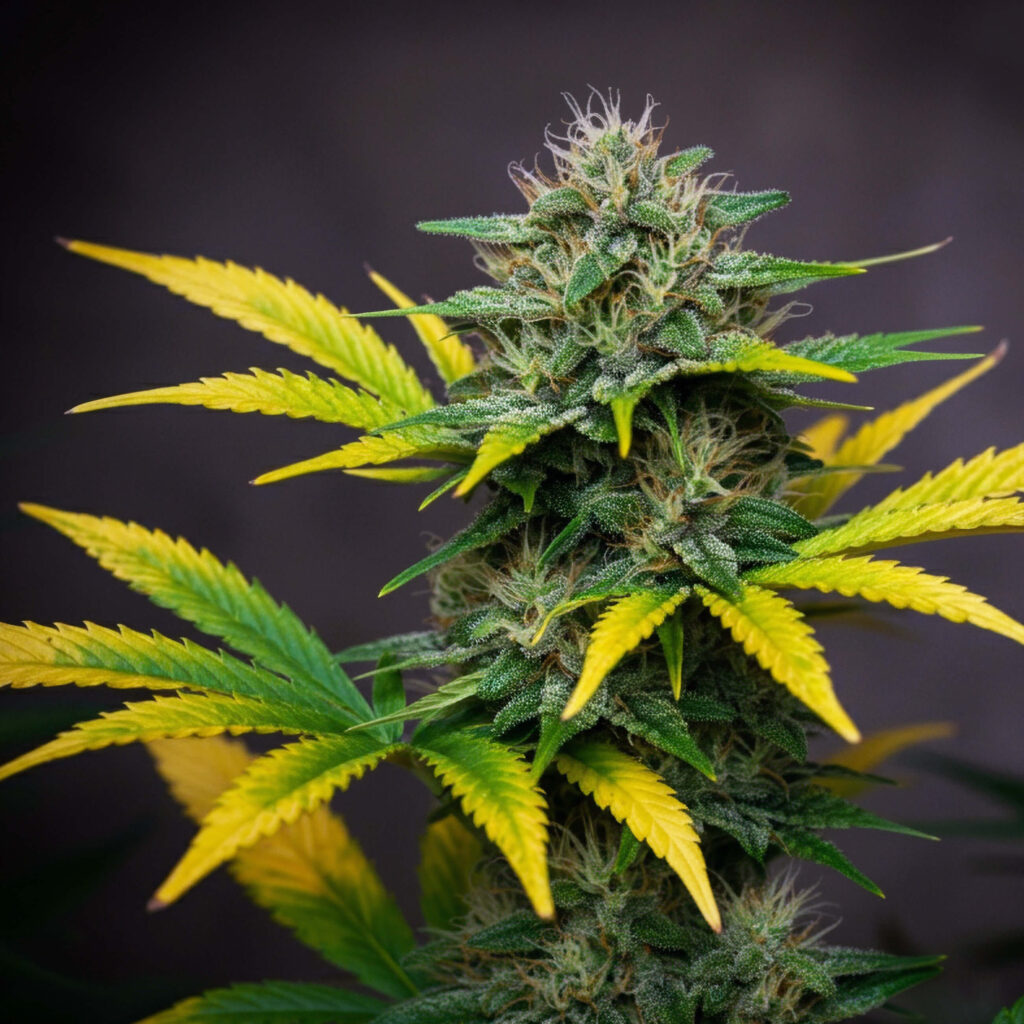
1. Bleaching
This is easily the most common sign of light burn and the symptom that sets it apart from other possible issues. As the name implies, the signs of bleaching are intense yellowing of the leaves and whitening of the buds. While these white buds might look nice, they are essentially worthless as the bleaching process essentially kills any THC and terpenes that may have been present.
Yellowing leaves can also be a sign of a nitrogen deficiency, however there’s one telltale difference between the two. If a plant is suffering from nitrogen deficiency, the yellowing will start at the bottom of the plant whereas light burn always starts at the top.
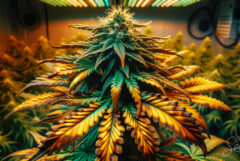
2. Curling
Downward curling of leaves (also known as “clawing”) can be a sign of a few problems. Nitrogen toxicity and overwatering can both lead to these droopy leaves, but these don’t tend to appear with any of the other signs outlined here. If your leaves are yellowing and clawing, then it’s almost certainly light burn.
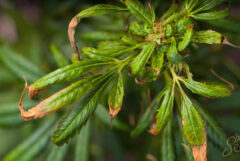
3. Folding
Ironically enough, the opposite can also be a sign of light stress. If your leaves are folding upwards (also called “tacoing”) then you might be dealing with light stress. This results from the plant trying to protect itself from intense light by limiting its surface area—kind of like squinting in bright sunlight.
If this is left untreated, these leaves will eventually dry out and turn brown and brittle to the touch. If you’re seeing this, move your light immediately.
4. Drooping
Much like underwatering, light burn can lead to droopy leaves. This is a result of reduced transpiration and the plant not having enough water to maintain stiffness (turgidity). If this is the only symptom you’re seeing, start by giving the plant a bit more water. However, if the problem persists then adjust your light.
5. Slowed growth
This can be hard to spot as plants grow at different rates, but if you’re noticing growth slowing down sooner than it should, there might be an issue. During the vegetative phase (as well as the first few weeks of flowering), your plants should be getting larger every day. If this stops, check for other symptoms of light stress and act accordingly.
Related post
How to prevent light burn in cannabis
Luckily, preventing light burn is a pretty simple task and here are several straightforward steps that can be taken to minimise the risk.
1. Match lighting with space
The most important thing that you can do to prevent light burn is to not use too much light. While that statement might sound obvious at first, the number of growers who have tried to squeeze a 1,000-watt HPS bulb into a 1×1 metre closet is astounding.
For example, a 1,000-watt HPS bulb in a 1 square metre area can cover the space in nearly 3,000 µmol/m²/s from a distance of about 35 cm. This is far more light than your plants need (not to mention the intense heat that these lamps can generate).
Most indoor (non-commercial) growers cap out in the 400-600-watt range as these lights strike the perfect balance of light and heat. If you’re setting up a grow space, do some research and compare PPFD charts to make sure that you’re getting the most out of your lights.
Personally, I tend to opt for more, smaller lights to create a more even distribution. Running 4 100-watt LEDs provides far more even lighting than a single 400-watt light.
2. Distance from light to plant
Looking at that same 1000-watt HPS light, the PPFD drops considerably the further the light is from the plants. At 65 cm, the PPFD has dropped to a manageable 942 µmol/m²/s and at a height of 115 cm, the readings are down to only 275 µmol/m²/s.
If your plant is getting too much light, raising it even a small amount can greatly reduce the amount that is falling onto the plant… to a degree. If you have a 1 square metre room with walls covered in a reflective surface, then even raising your light might not be enough as the light will only reflect around the room before making its way to your plants.
Each lamp is different and even lights with the same wattage can have different outputs. Always check the manufacturer for the best information.
If you’re worried about vertical space, there are several strains that grow well in shorter spaces. Strains like Purple Bud Auto, Critical Mass Auto, and Big Bud Auto can all easily be kept to under 1 metre tall.
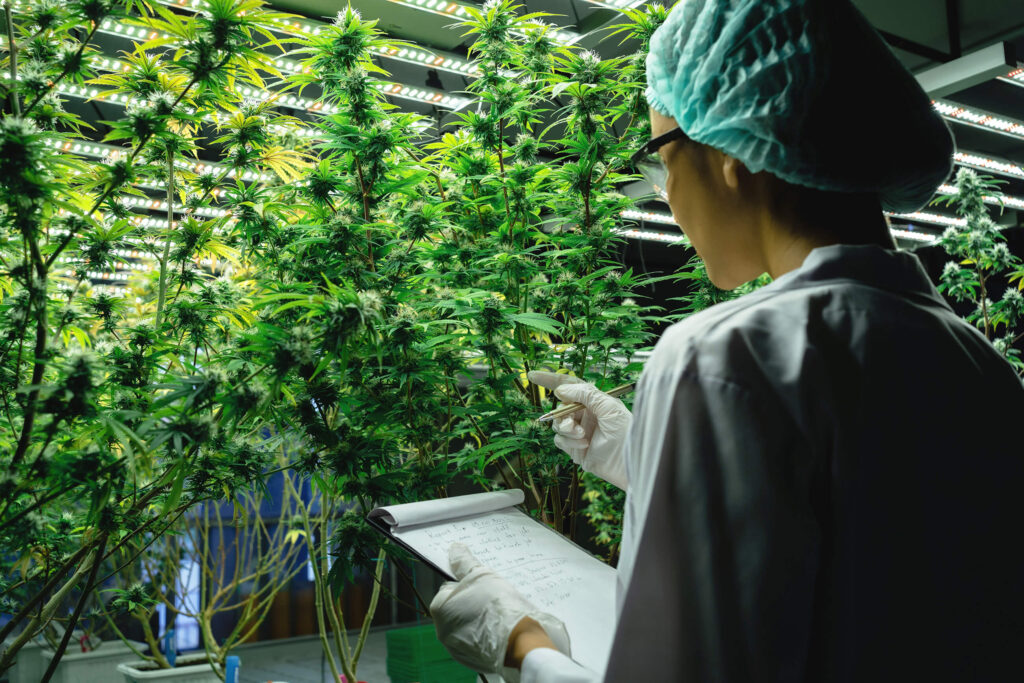
3. Proper measuring
Investing in a lux meter will allow you to keep a constant eye on the light levels reaching your plants. Much like how a thermometer and a hygrometer will measure your temperature and humidity respectively, a good light meter should be a part of any grower’s regular monitoring. Not only will it help prevent light stress, it can help you rule it out as a potential problem if you start seeing signs of something being wrong.
4. Low-stress training
Sometimes, though, things just get a little out of control. We’ve all had that one plant that just wouldn’t stop growing taller and taller and there’s just no more room to raise the light. That’s where low-stress training (LST) comes into play. Several methods can work here from simply tying tall branches down, to more extreme forms like a screen of green.
If you know that you’re working with limited vertical space, then more high-stress training like supercropping or mainlining might be worth your consideration. If you have the space and the ability to grow 10-20 plants, then a sea of green is a great choice for growers working with low ceilings.
How to fix light burn
While light burn can completely destroy a plant if left unchecked, it can be fixed if you catch it early enough. White none of these techniques are guaranteed to work, doing nothing is a certain death sentence so don’t hesitate to try them all.
1. Move your light
As discussed above, the amount of light that a plant receives from a lamp falls off pretty quickly with distance. If you start spotting early signs of light burn, raise your lamp.
2. Provide shade
If raising your light isn’t an option, then using shades or light covers might be the second-best option.
3. Increase humidity
Light stress can cause a plant to transpire and dry out too quickly. Increasing the ambient humidity can help counteract this. Just don’t go too high or you run the risk of developing mould.
4. Remove the damaged parts
Weed that gets burnt by light is still technically safe for consumption, but the potency and flavour are long gone. You’re better off making a small sacrifice and trimming off any leaves or buds that have been damaged.
If this happens during vegetating then it’s not a huge loss, you’ll just need a few more days for the plant to recover. However, topping a plant (that’s where the light burn will be worst) while flowering is never a great idea.
Related post

Light it up
Striking the perfect balance between “enough” and “too much” light can be tricky for even experienced growers. But, by doing a little upfront research and taking some precautionary measures, light burn is the kind of problem that can be easily avoided.
