


Nitrogen deficiency is an issue that every grower will encounter at some point. Starting with leaves turning yellow, if left unchecked, it’s a certain death sentence for weed. Luckily, of all cannabis problems, nitrogen deficiency is one of the most easily prevented and treated. Follow these simple steps to ensure that it’s never a problem for you.
Why do weed plants need nitrogen?
Nitrogen (N) might just be the most important macronutrient for a weed plant’s development; it’s even the first number in any NPK ratio. While the actual chemistry and biology are rather complicated, the importance of nitrogen for cannabis growth can be broken down into a few primary functions.
1. Promoting photosynthesis
Nitrogen is one of the primary components of chlorophyll—the chemical that allows plants to turn light into energy. Without nitrogen, plants cannot feed themselves.
2. Forming amino acids
Amino acids (AKA “monomers”) are the building blocks from which more complex polymers are formed. These molecules play key roles in virtually every aspect of a weed plant’s health from initiating chemical reactions to bolstering a plant’s immune system.
3. Enhancing plant structure and growth
Nitrogen is a crucial component in synthesising proteins essential for cell division and growth. Proper nitrogen levels promote healthy vegetative growth and robust stem development, leading to healthier and more productive plants.
Related post
4 Common nitrogen deficiency symptoms in cannabis
Since maintaining healthy levels of nitrogen is key to a plant’s success, any deviation (above or below) will result in symptoms appearing fairly quickly. Growers should always be on the lookout for any changes in their plants’ appearance, and the signs of nitrogen deficiency are typically easy to spot.
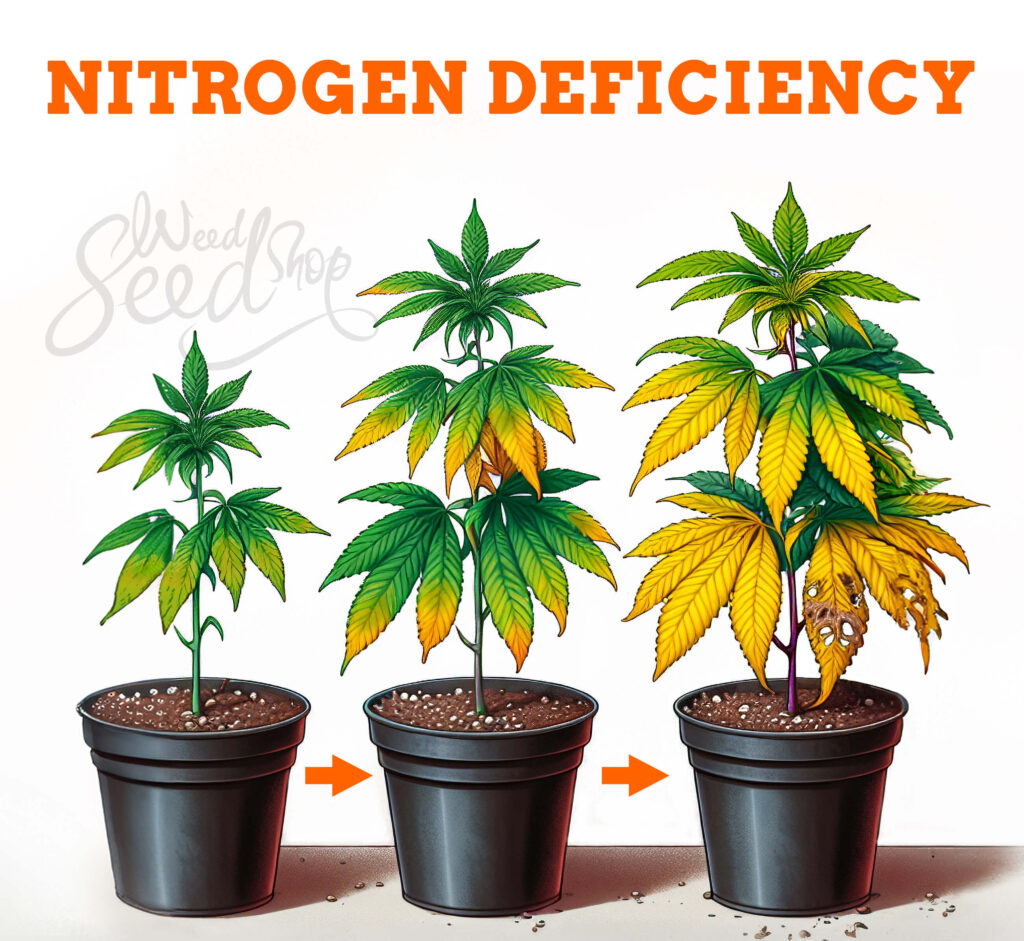
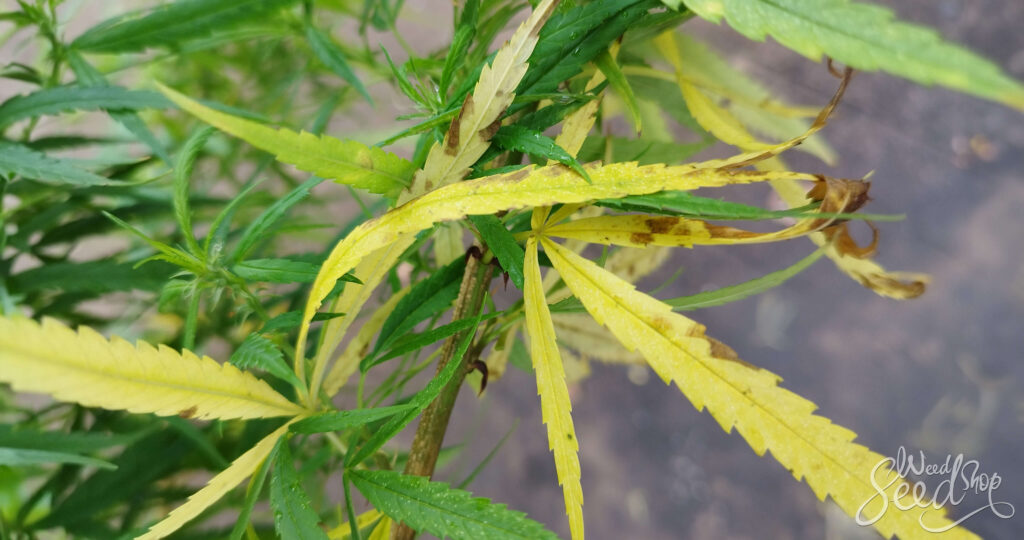
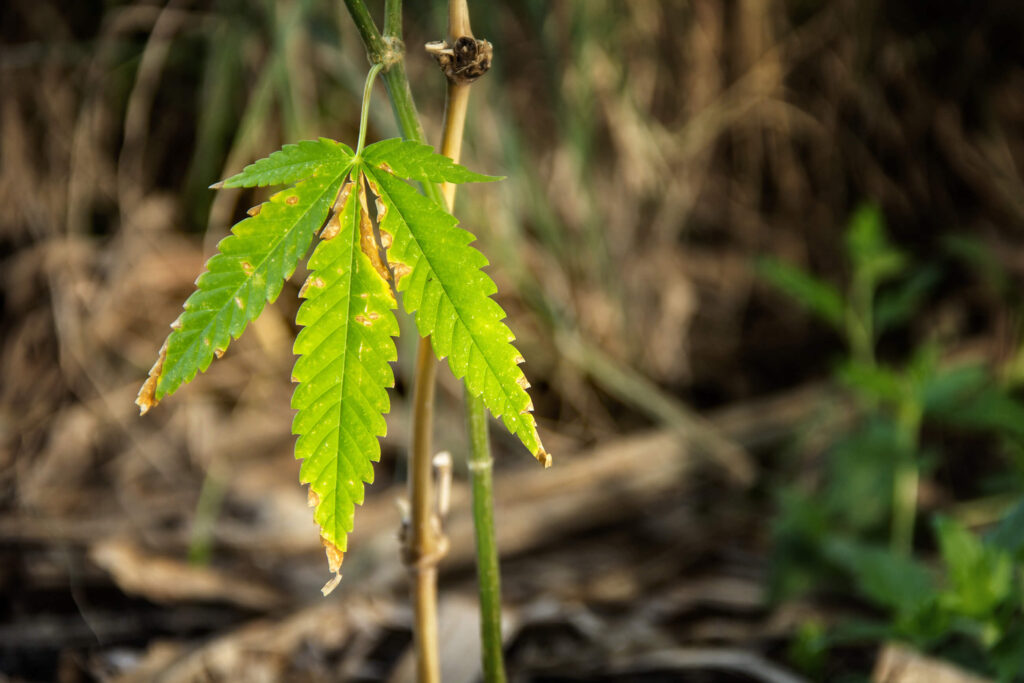
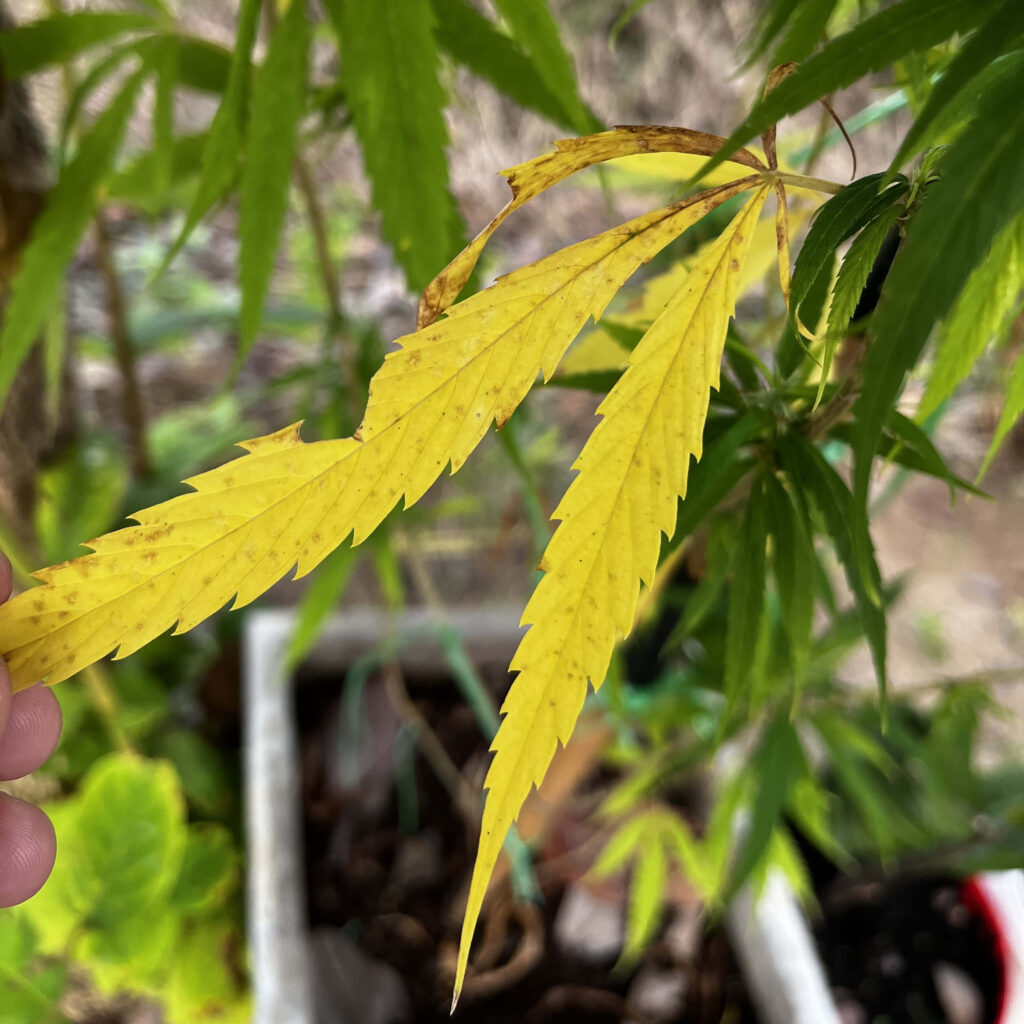
1. Weed leaves turning yellow
This might be the most common sign of nitrogen deficiency. While leaf yellowing is a common symptom of many issues, nitrogen deficiencies will show up first in the lowest leaves. Over a few days to a week, the lowest leaves will first turn very pale green and then yellow. After another day or so, they’ll dry, wither, and fall off the plant.
Note that leaf yellowing during the late stages of flowering is perfectly normal. As long as the yellowing stays on the lower parts of the plant, it’s not a cause for concern.
2. Stunted growth
This one is always a little hard to spot without a point of comparison, but if you’ve been growing long enough you’ll notice when something isn’t right. Nitrogen is especially important in the vegetative stage, and low levels will mean that a plant simply won’t grow. Remember, weed plants grow, well…like weeds. If you’re not seeing noticeable growth every day or two, then you should check your nutrient levels.
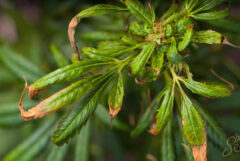
3. Purple stems or leaves
Since nitrogen is a major component in chlorophyll, a lack of it can cause some parts (mostly the tops of stems on leaves) to turn a deep purple.
4. Delayed flowering
While nitrogen levels should be lower in the flowering stage, it’s still a vital nutrient for the plant. If levels are too low, then the rate of development and maturation of your buds will be greatly slowed.
Don’t confuse nitrogen deficiency with other common issues
Many of these symptoms can be confused with other causes so knowing how to tell one from the other can save you a ton of time. Let’s break down the symptoms I just mentioned and look at what else might cause them and how to tell what you’re dealing with.
1. Weed leaves turning yellow
Aside from nitrogen deficiency, fan leaves turning yellow could be caused by any of the following:
- Overwatering or root rot
Both of these can cause the lower leaves to turn yellow, however, these leaves will likely look less “burnt” and have a heavier, soggier feel.
- pH imbalance
Even if you’re using the right levels of nitrogen, the plant can’t uptake it if your pH is off (I’ll talk more about this below).
- Lack of other nutrients
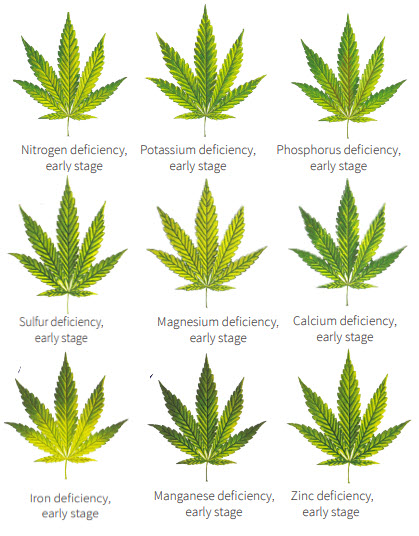
A lack of almost any nutrient can cause leaf yellowing, but there are differences in the patterns that appear. Knowing which nutrient is lacking is key to fixing the problem.
- Pests or disease
Things like spider mites, aphids, or powdery mildew can all cause leaf yellowing, though by the time this happens, you should be able to spot other signs such as webbing or damaged leaves.
2. Purple stems
When your cannabis plants show purple stems, these could be a sign of a few problems such as:
- Cold temperatures
Exposure to chilly conditions, particularly during the vegetative stage, can trigger purple stems (and even buds). Make sure that your temperature is between 20°-30°C with no more than a 5° difference between day and night.
- Phosphorus deficiency
This will also likely include dark green or blue-green leaves and delayed flowering. Unlike nitrogen deficiency, which primarily affects older leaves first, phosphorus deficiency symptoms often start on younger leaves at the top of the plant.
- Light stress
Intense light, especially UV light, can cause stems to turn purple. This can happen outdoors or indoors under certain lighting conditions. If this is the cause, you’ll likely notice other signs of stress such as leaf curling or bleaching. Again, this is more likely to appear on top of the plant.
- Root issues
Similar to nitrogen deficiency, problems with roots such as overwatering, root rot, or poor drainage can result in purple stems. Watch for other symptoms of root stress, like wilting or yellowing leaves, to confirm this cause.
3. Stunted growth and/or delayed flowering
These might be the vaguest symptoms out there. If your cannabis plant is developing slowly, it could be anything from low nitrogen to root problems to genetics. If the only symptom you’re seeing is slower-than-expected growth, you might just have to wait and see if any other symptoms appear.
Related post

6 Common causes of nitrogen deficiency in cannabis
While the most common cause of nitrogen deficiency is simply not using the right type or amount of fertiliser, it’s hardly the only one.
1. Weak fertilisers
While it should go without saying, using too little fertiliser is a surefire way to hinder your plant’s growth. Overdiluting liquid nutrient mixtures might be a good way to save a few cents in the short term, but the long-term damage it can cause your weed plants is not worth it.
Additionally, using the wrong type of nutrient at the wrong time can lead to nitrogen deficiency. Flowering (or “bloom)” nutrients have much lower nitrogen levels than vegetation (or “grow”) nutrients. Using a flowering mixture on a vegetating plant is never a good idea.
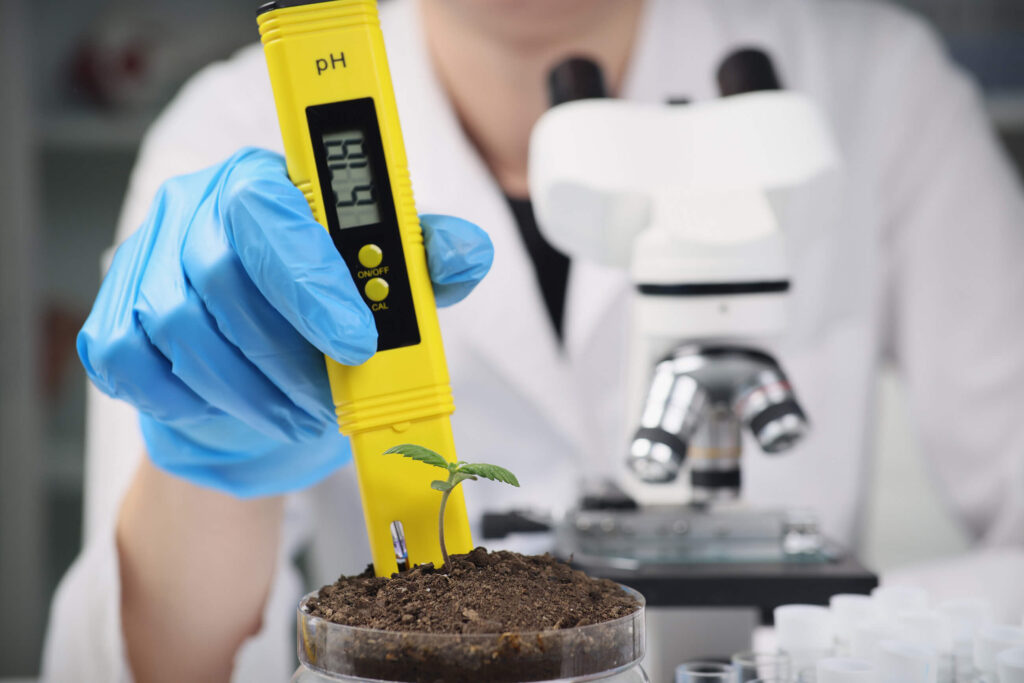
2. Imbalanced pH
As I touched on earlier, keeping the pH of your growing medium is vital for proper nutrient uptake. In soil, cannabis plants thrive at a pH range of 6.0-7.0 with 6.4 being “ideal” (note that in hydro setups, this number is lower; 5.5-6.5 with 6.0 being the sweet spot). If the pH strays too far away from the norm, the plant loses the ability to properly take up nutrients. Test your water before you add it and test your runoff. The two numbers should be quite close but if either is too far away from where it should be, then you’re going to have issues.
3. Poor soil
If you’re not using good soil then you’re going to have a bad time. Soil that has the proper consistency and texture and is properly amended with nutrients is a must for any healthy weed plant. While soil can be reused from grow to grow, doing so without taking the time to “recharge” it with nutrients is a recipe for disaster. Check out our guide on making your own soil to learn more.
4. Poor drainage
If the soil is too wet, the excess water can leech nitrogen from the roots leaving a plant deficient even if you’re using the proper amount. If left unchecked, overly wet soil can lead to root rot which will further inhibit nitrogen uptake on top of causing other, more serious issues.
5. Excess runoff
On the other hand, if your soil isn’t retaining enough water, then the nitrogen will be lost as runoff before the cannabis has had a chance to absorb it. Striking the perfect balance between drainage and water retention can be tricky, but its importance can’t be understated. Things like perlite are great additions to the soil to help prevent excess runoff.
6. Soil compaction
If the soil you’re growing in is too compacted, the cannabis plant won’t be able to develop healthy roots and won’t be able to absorb enough nutrients to keep it healthy for very long. If you’re growing outside, try to avoid walking directly on top of your plants’ roots. If you’re growing inside, be sure not to overfill your pots and ensure the soil isn’t too dense by stirring it thoroughly before planting.
How to fix nitrogen deficiency
As one of the most important elements to a weed plant, nitrogen plays a role in every part of development. Because of this, dealing with a nitrogen deficiency early is extremely important. Luckily, it’s pretty simple.
- Treat plants with nitrogen-rich food
You can find pre-mixed nutrients containing nitrogen at local nurseries or garden suppliers. Organic fertilisers or sodium nitrate are also good sources.
- Check pH balance
If the pH balance is too low, the roots won’t absorb nutrients properly, including nitrogen. Adjust the pH balance to ensure optimal nutrient uptake.
- Flush your soil
Even if the pH isn’t off, there may be something preventing proper uptake. Flush your soil with clean, unfertilised water to get rid of any salts that may have built up.
- Mulch the soil
Mulching helps reduce leaching and maintains moisture levels, which can alleviate nitrogen deficiency.
If you’ve done things right and the weed plant is now getting enough nitrogen, you should see results in as little as a day. Note, that severely yellowed or damaged leaves will never recover and should be removed.
Related post

How to prevent cannabis nitrogen deficiency
Most of the time, nitrogen deficiency in cannabis plants is entirely preventable with just a little bit of planning. By taking a few simple proactive measures, you can ensure your plants receive an adequate supply of this essential nutrient.
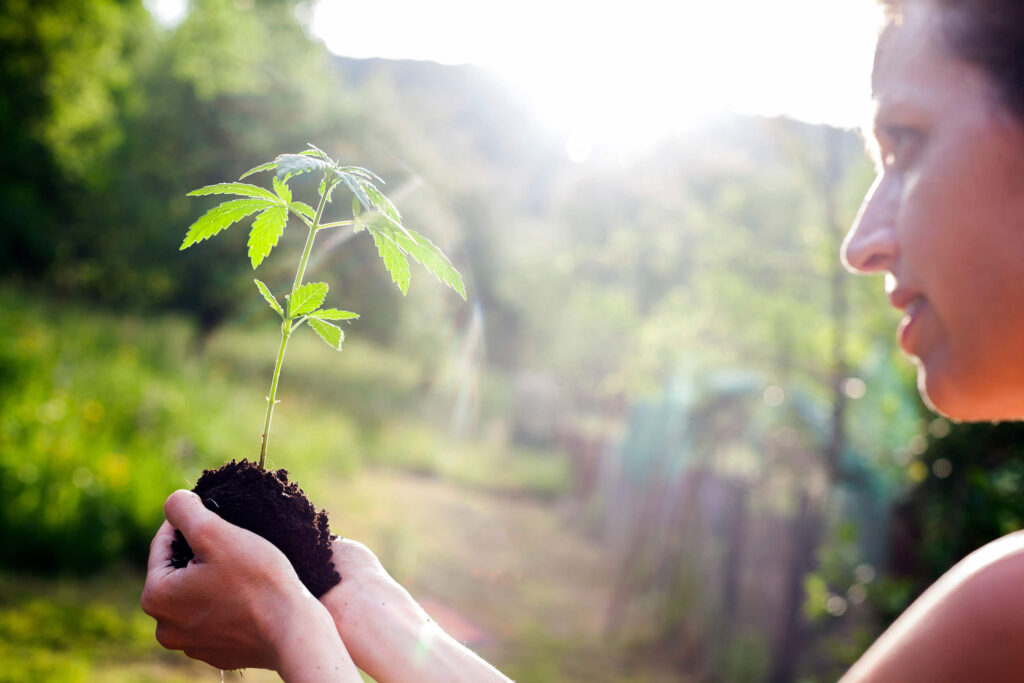
- Any healthy weed plant starts with proper soil preparation. Use well-amended soil or high-quality pre-mixed soils (make sure they’re designed for cannabis. DO NOT use standard, generic potting soil) to provide a good nutrient base for your plants.
- When it comes to feeding, it’s important to keep a balanced fertiliser regimen. Choose fertilisers with a balanced NPK ratio which contain enough nitrogen for healthy growth (higher on the “N” for vegetating). Organic options like compost, fish emulsion, or blood meal can slowly release nitrogen into the soil and make great additions for most setups.
- Regularly test the pH levels of the soil or growing medium to ensure they remain within the optimal range for nutrient uptake, typically around 6.0 to 7.0 for cannabis.
- Implement good watering practices. Overwatering can lead to nutrient leaching, including nitrogen, so water your plants thoroughly but allow the soil to dry out slightly between waterings.
- If you’re growing outdoors, consider using nitrogen-fixing cover crops or companion plants in the garden to naturally increase nitrogen levels in the soil. Crops like clover, peas, or beans all have a symbiotic relationship with nitrogen-fixing bacteria in their roots, allowing them to convert atmospheric nitrogen into a form that cannabis plants can use.
- Lastly, pay attention to plant health and growth. Early detection of any signs of nitrogen deficiency, such as yellowing leaves or stunted growth, will let you take immediate action.
Nitrogen toxicity
With all that in mind, it’s important not to go overboard. While nitrogen might be the most important nutrient for a plant, too much can lead to nitrogen toxicity. This can be an even greater risk to your plant and can be harder to fix. As with anything, err on the side of caution.
Keeping nitrogen levels in check

Without adequate levels of nitrogen, your weed plant will die. By following the preventative measures outlined above and keeping a close eye on your plants, you can prevent this from ever happening.
